This guest post today comes from my new, fun friend Jenni P. Jenni and I met and instantly bonded over Sharknado cupcakes and chatting about baking and we new from then on out that our friendship was meant to be.
Jenni also shares my love of the Christmas season so as we squeed over sparkly lights and holiday festivities I told her about my plans for the cookie countdown and she jumped on the chance to join in on the fun!
These tasty morsels are one of Jenni’s go to recipes for easy peasy treats! I personally love them with dark chocolate on top, but the white chocolate and peppermint was a great twist. I wouldn’t think of peppermint and crispy rice treats going together, but I’ll be darned if they weren’t delish.
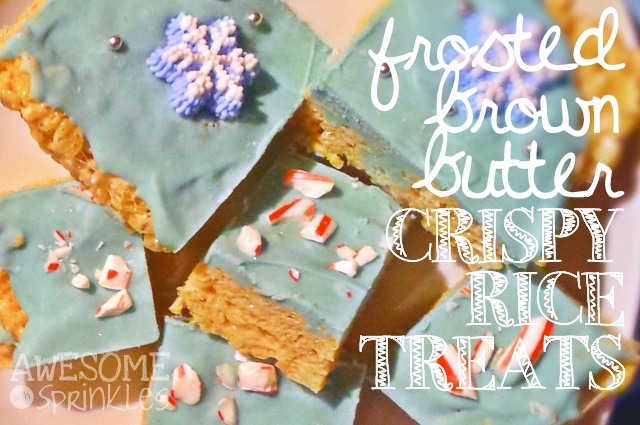
Frosted Brown Butter Crispy Rice Treats by Jenni P*
(*Adapted from this incredible Smitten Kitchen recipe)
Holidays are a hectic time. There is work to wrap up, office festivities to attend, crowded malls to brave, in-laws to juggle and of course treats to make for all of the holiday parties popping up on your schedule. Who’s got the time? If you’re worried you won’t be able to pull a treat together for the holiday potluck you forgot was tonight, these super-quick rice krispie treats are your answer. Not only are they incredibly easy, but they are also decadent and beautiful and I promise your friends will be impressed.
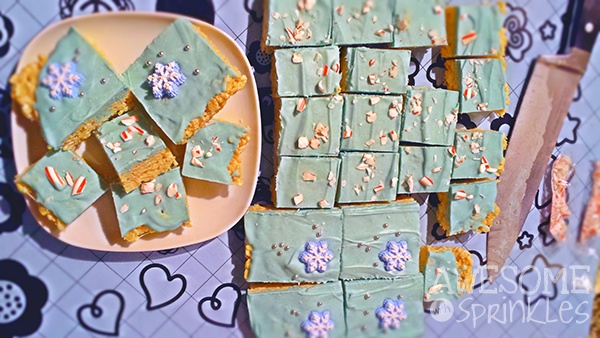
Requiring absolutely ZERO oven use, you can whip up a batch of these treats in about 20 minutes, plus maybe a half hour of cooling time. Make ‘em, throw ‘em in the fridge while you get dressed and put your make up on, then cut and box up before you head out the door.
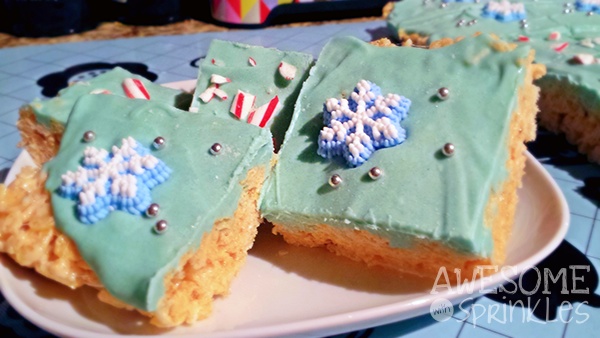
I love to make these with a blend of dark and milk chocolate on top for a richer treat (Trader Joe’s Pound Plus Chocolate Bars Imported from Belgium are my favorite). Top with a pinch of hot pepper flakes, like dried habanero, for a surprising kick. For the holidays, I prefer creamy white chocolate colored a frosty blue topped with crushed candy canes, edible silver balls and snowflakes. But hey, get creative – your personal touch is what makes these treats special.
- ¼ lb butter (1 stick)
- 1 10 oz bag mini marshmallows
- ¼ - ½ tsp sea salt (this turns these treats up to eleven)
- 6 cups crispy rice cereal (tip: make these gluten-free with Rice Krispies Gluten-Free Cereal)
- 12 oz to 1 lb chocolate of choice for melting
- Food coloring (optional)
- Sprinkles or other edible decorations (optional)
- To Prepare: Grease or coat a 9 x 13” glass or non-stick baking pan. Measure out your 6 cups of cereal and toss with the sea salt.
- Brown the butter: Slice the stick of butter into pats for easy melting, then melt in a large cooking pot over medium-low heat. Stir frequently and keep a watchful eye as you wait for the butter to turn an amber color and smell toasty. Be careful – once it starts to brown it can burn quickly in a matter of seconds!
- Melt the marshmallows: Once the butter browns, turn off the heat and stir in the mini marshmallows. Repeatedly fold the marshmallows in with the molten butter using a silicone spatula until they melt into a smooth and uniform elastic mass.
- Stir in the cereal: Pour the cereal and sea salt into the melted marshmallows in the pot and fold together gently until combined. While still pliable spread into the greased pan, pressing down with the side of a rubber spatula to make even and smooth.
- Melt the chocolate: Break your chocolate into 1-inch chunks. Use a microwave-safe bowl to microwave for 30 seconds at a time, stirring in between each spurt until melted and smooth. (Be careful not to over-microwave once the chocolate becomes melted to avoid burning it.) Use food coloring now with the white chocolate if you wish to have a color – for these I used a few drops of blue.
- Pour the chocolate & decorate the treats: Pour and smooth the melted chocolate over the rice treats. If using sprinkles or other decorations, sprinkle them on now while the chocolate is soft and the decorations will stick.
- Cool, cut & serve: Cool and harden in the refrigerator for a half hour, or until set and semi-hard. When ready to cut, use a spatula to ease the treats out of the cooled pan onto a cutting board, and cut into the desired sizes you’d like. Serve & enjoy!








Leave a Reply