Watch the How-to make Sharknado Cupcakes video over at SheKnows.com »
If you know me, you know that I love Shark Week. There is something nostalgic, exciting and totally campy about it. I was racking my brain this year on what to make. My shark infested waters cookies went over so well last year. But Shark Week was fast approaching and I was drawing a blank.
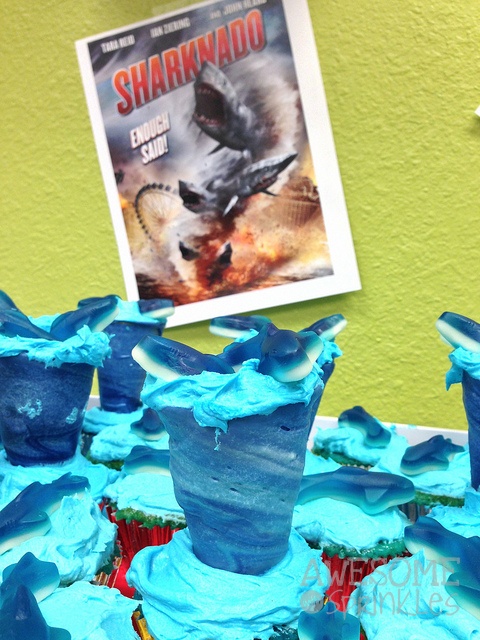
That is until the glory that is Sharknado was announced. This ridiculous, tongue-in-cheek, hot mess of a movie had me so excited! Armed with pizza, a bottle of my fave red and some gummy sharks, we sat down to watch this sharktastrophe. It was terrible. Oh was it so wonderfully terrible! Halfway into a bottle my bottle of wine I knew what I had to do.
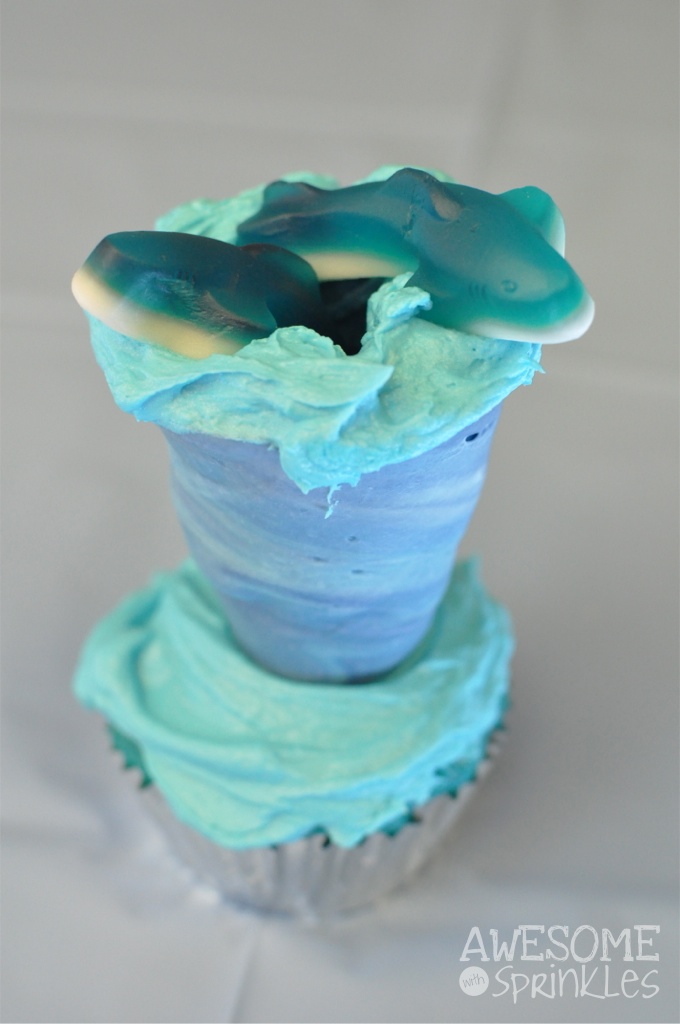
I give you… the Sharknado Cupcake!

I surprised my office mates with these amazing creations and they went over so well that I was asked to post the article and create a how-to video for SheKnows.com! Check it out!

How-to Make Sharknado Cupcakes
Yields about 24 cupcakes
Gather your ingredients
- 1 box white cake mix
- 1 can buttercream frosting
- Blue gel icing color
- Vanilla candy melting wafers (1 bag each in white, light blue and dark blue colors)
- 12 to 24 small sugar cones
- Blue gummy sharks
- Wax paper
- 3 small microwave-safe bowls
- 1 deep glass or microwave-safe cup
Step 1: Bake the Cupcakes
Mix up the cupcake batter according to the box instructions (I like to use this cake mix recipe modification to get denser, less crumbly cupcakes that are better for decorating). Add blue icing color to the cake batter until desired color is reached. Bake according to box and let cool before frosting.
Step 2: Make the “Tornadoes”
To make the tornadoes, we are going to dip our sugar cones into candy melting wafers (candy melts). Get started by laying a sheet of wax paper out on the table. This is for your cones to dry on.
Using a separate bowl for each color, melt the candy wafers in the microwave for 30 seconds at a time (or according to directions). Make sure the candy wafers are nice and runny (but don’t overheat or this will cause lumps!).
Get out your tall glass. You will want to make sure that your glass is tall enough for most of the sugar cone to be covered when you dip it. Alternate pouring the different colored melted candy wafers into the tall glass.
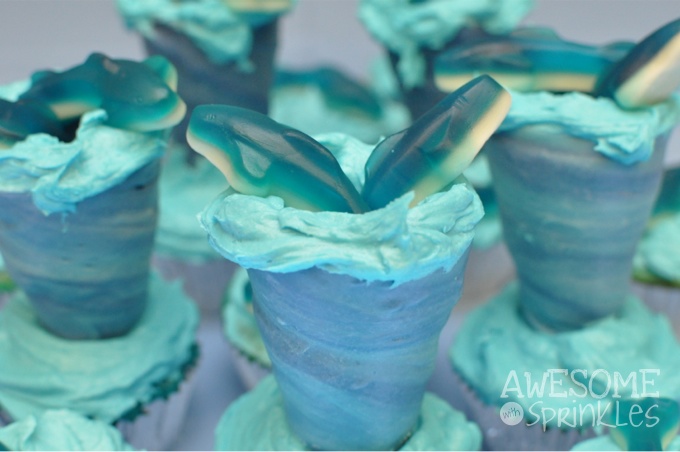
Take your sugar cone and grasp it by the tip, dip it into the glass cup full of melted candy wafers, and gently twist the cone slowly to mix up the melted candy and create a swirl effect on your cone.
Carefully pull your cone out of the candy melts and let the excess candy run off. Use a knife or small frosting spatula to scrape the inside of the cone to get the extra candy out of the inside of the cone.
Carefully set your cone down on the wax paper and allow to thoroughly dry (about 30 minutes).
Step 3: Frost and assemble
Color the frosting by adding blue icing color to your canned frosting (or your favorite homemade buttercream frosting) until desired color is reached. Frost each cupcake with a generous heap of frosting. Use your spatula to make messy wave shapes in the frosting. This is a tornado after all!
Very carefully break the tip off of each sugar cone. This will make the cone shorter and allow it to go into the cupcake a bit further which will make it more stable and less likely to fall over.
Gently push the broken tip end of the sugar cone into the center of the cupcake. Your heap of frosting should help secure the cone to the cupcake, but add more frosting around the bottom of the cone if needed.
Add some frosting to the rim of each cone. You can put this in a piping bag if that is easier for you, but again, it is a tornado, so a little messy is OK.
Add a couple of gummy sharks coming out of the top of the tornado spout or around the bottom. You can also “glue” a few sharks to the side of the tornado cone using leftover frosting or candy melts.
You can make each cupcake into a “Sharknado” or leave a few plain ones floating in the the surrounding ocean.
And there you have it! A terrifying treat you can sink your teeth into!
