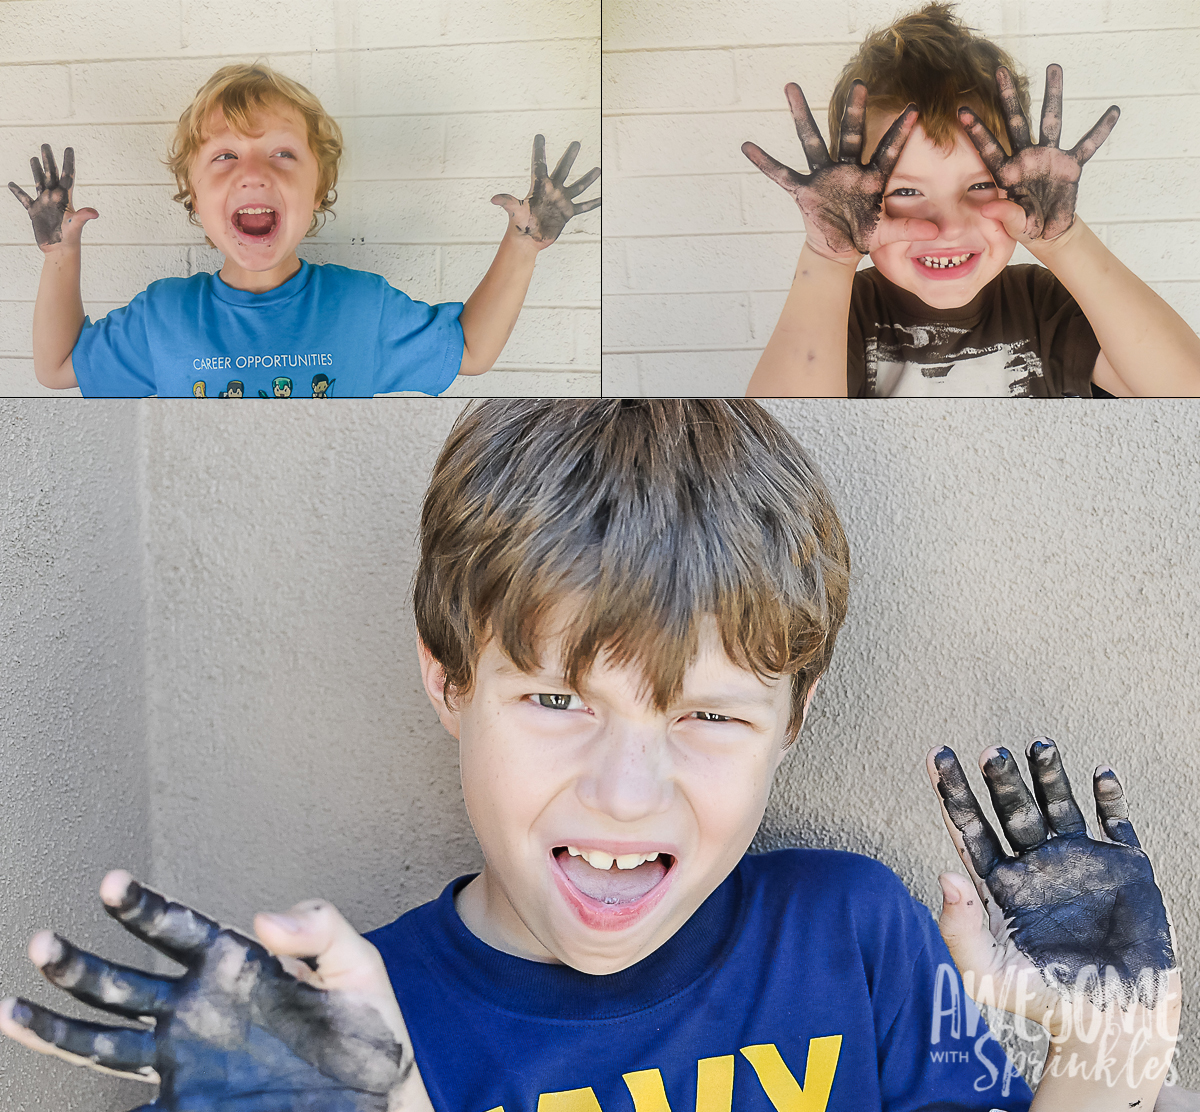
Is it Halloween yet!? We are SO ready for Trick-or-Treating already and these spooky spider trick-or-treat bags are all the rage at my house this year! These were a quick afternoon project with just a bit of a mess (I did, after all, coat each hand in thick, black paint) – which all my lil monsters loved!
How to make Handprint Spider Trick-or-Treat Bags
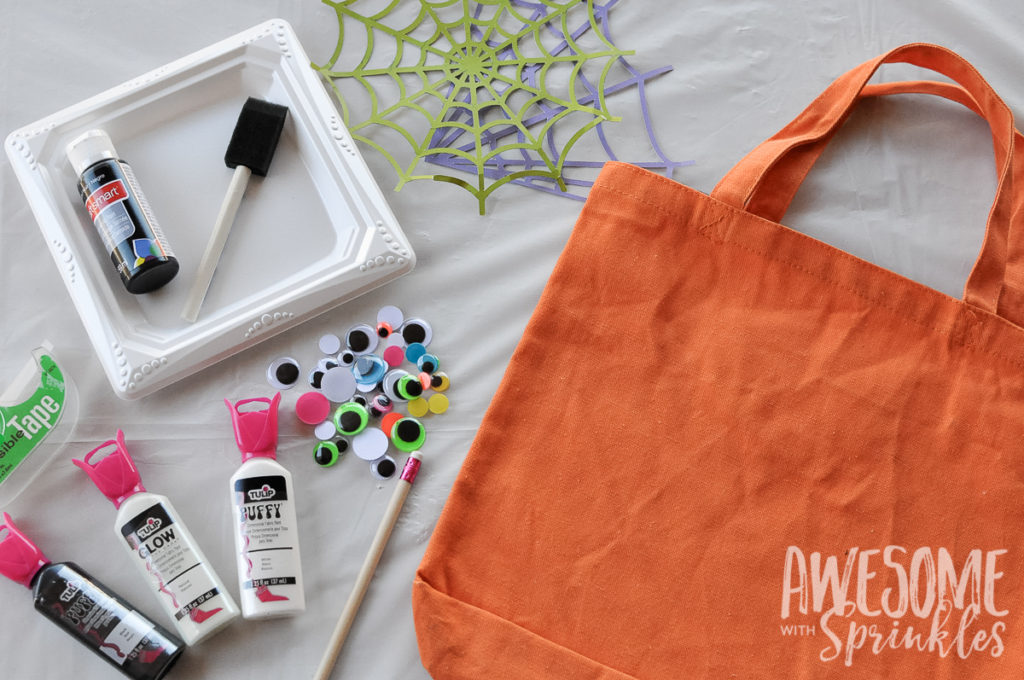
Gather:
- Canvas tote bag (I found mine on the Halloween aisle at the local craft store. You can also find them on amazon.com)
- Black paint (I used an acrylic paint, you can also use a fabric paint)
- Sponge brush or paint brush
- Tulip Puffy paint in; black puffy, white puffy, and glow in the dark (or any color of your choosing!)
- Googly eyes (I purchased an assorted pack. My monsters all selected the neon googly eyes)
- Spiderweb Template
- Pencil
- Tape
- Tacky/Craft Glue
- Kiddo’s hands
1. Draw/Trace Spiderweb
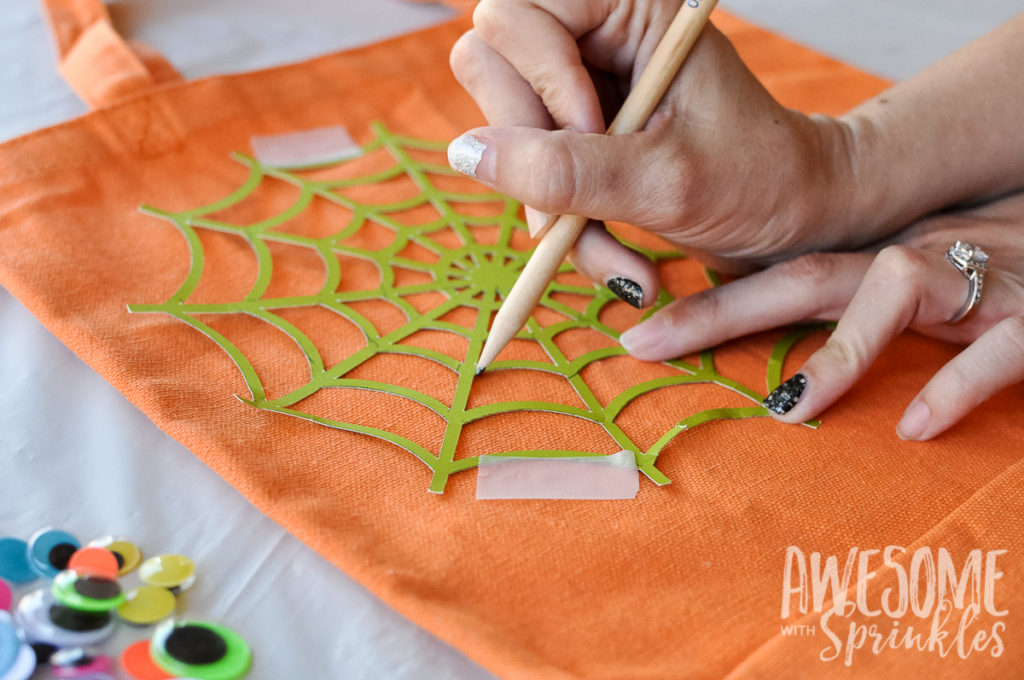
I used my Cricut to cut out a couple of web choices for the kids. If you don’t have a Cricut, no problem! It is super easy to free hand, or you can use our spiderweb template to achieve the basic shape and then draw in the webbing. My two littlest monsters loved a full web best. My biggest monster wanted both…sigh, a boy after his mamma’s crafty heart. 🙂 Anyway, after you settle on what you want your web to look like, trace or free hand the spiderweb on to your bag.
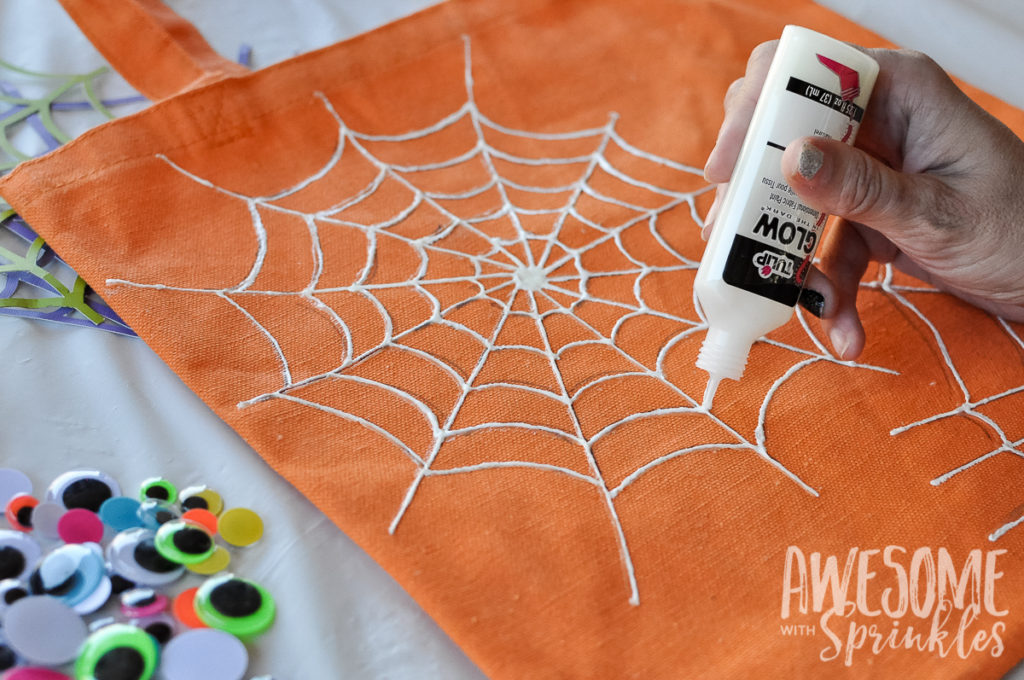
2. Apply White and Glow in-the-dark Paint
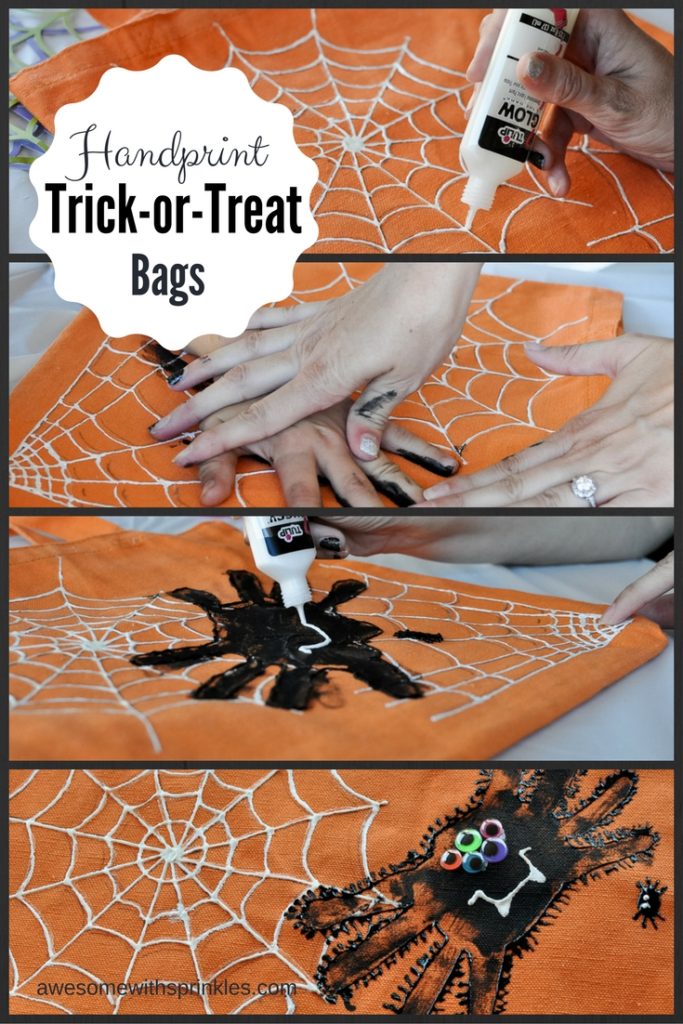
Go over your pencil lines with the white paint, followed by glow in-the-dark paint (allow it to dry in between). You can go right over top of the white or next to it (like a shadow). I tried it both ways and prefer it one on top of the other. I was able to make all three of my bags with just one tube of each paint color. The white and glow were almost out by the time I was done, so if you plan on doing more than three I suggest buying a few of each. I let these dry in the sun for a half hour or so while we enjoyed a snack and outside fun. They will be a bit sticky to the touch, but set enough not to smudge -so long as it is not a large glob of paint.
Time-saving Tip: Do this prep work the day before and let them dry overnight, before you involve the kids.
3. Add Your SPIDERS
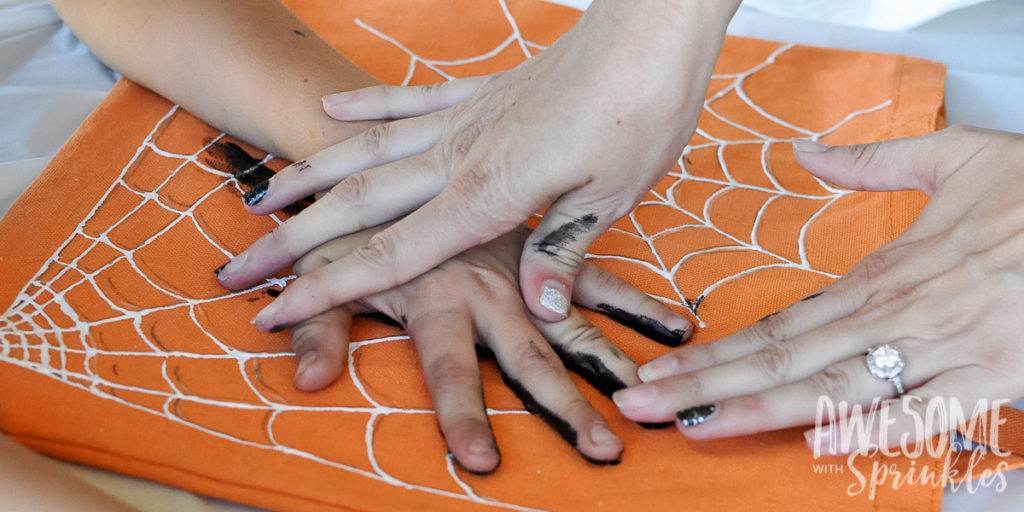
Here is the fun part! Apply the black acrylic paint to JUST the palm and fingers of your little’s hands. NO thumb. Then help press their hand firmly to the bag. Rock each finger from side to side to get more paint on the trick-or-treat bag. Repeat paint with the second hand.
Pro Tip: Have the kids pre-select the placement of their spider so you can quickly get them on the bags. The paint dries fast!
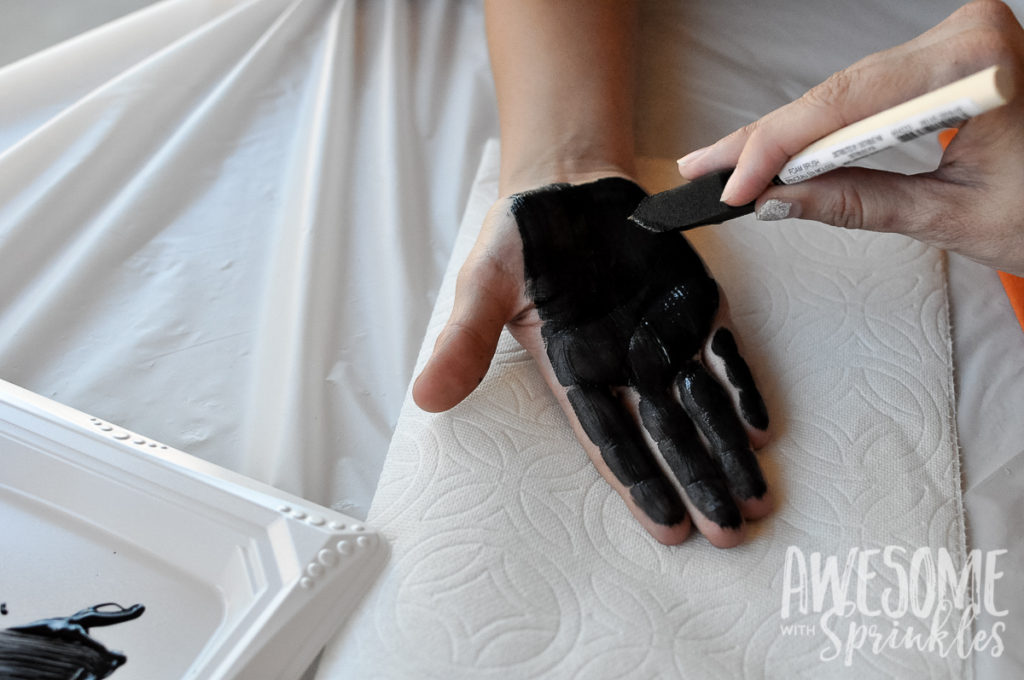
IMPORTANT: When placing their second hand be sure to line up and overlap the palms so they become the body and their fingers the legs. My littlest monster giggled the entire time I applied the paint to his little hands. It was very contagious! By the end we all were in a fit of giggles and silliness.
4. Detail Work
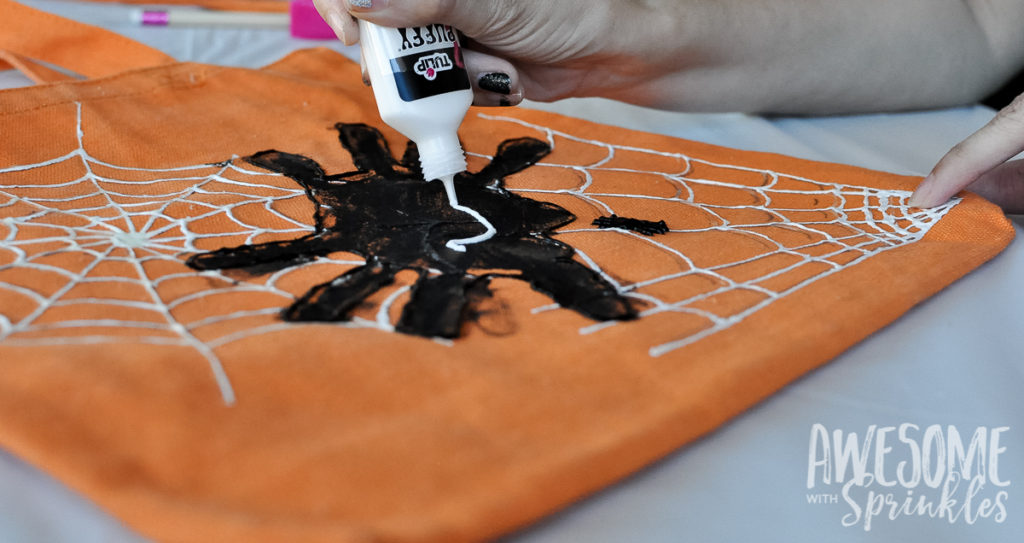
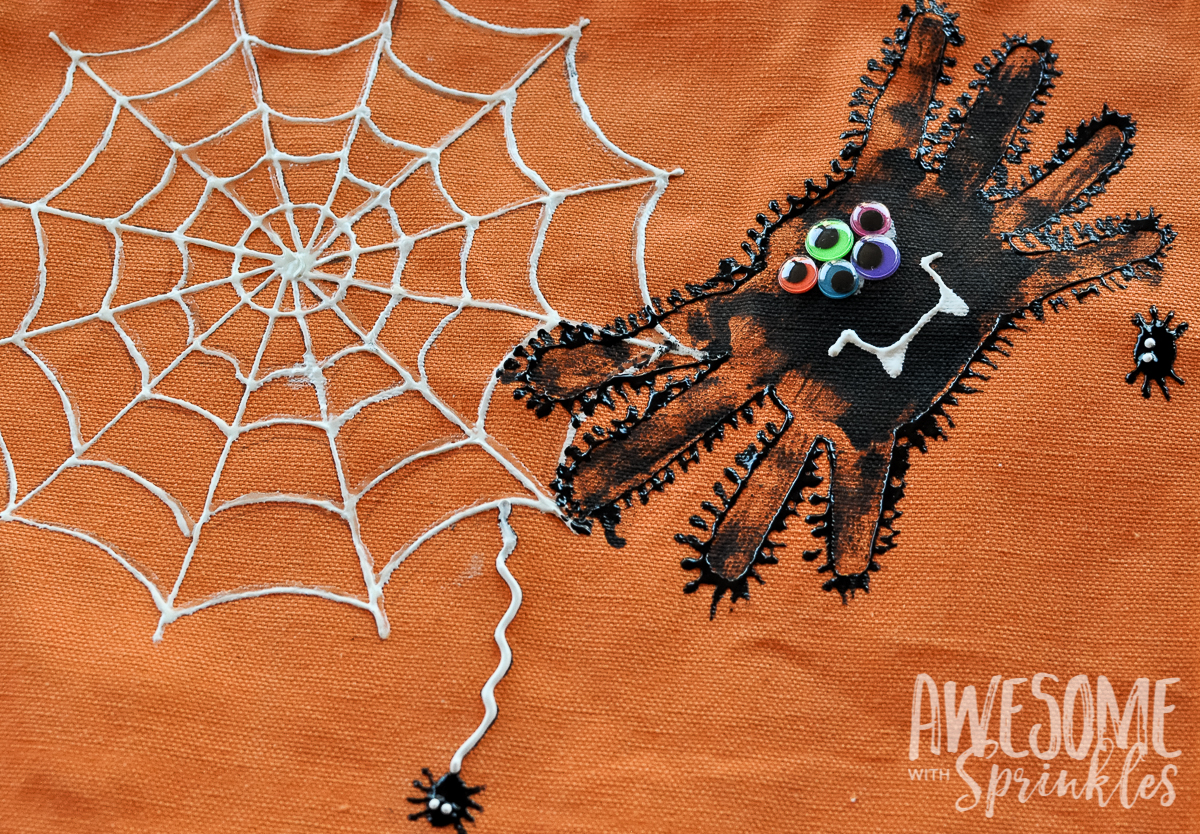
Now that everyone is all washed up. You are ready to do some detail work. Using the black puff paint outline the palm and fingers of their spiders. If the spider legs are not dark enough, add a bit of paint to them with the most narrow part of your sponge brush. Have the kiddo’s pick out some googly eyes to bring them to life.
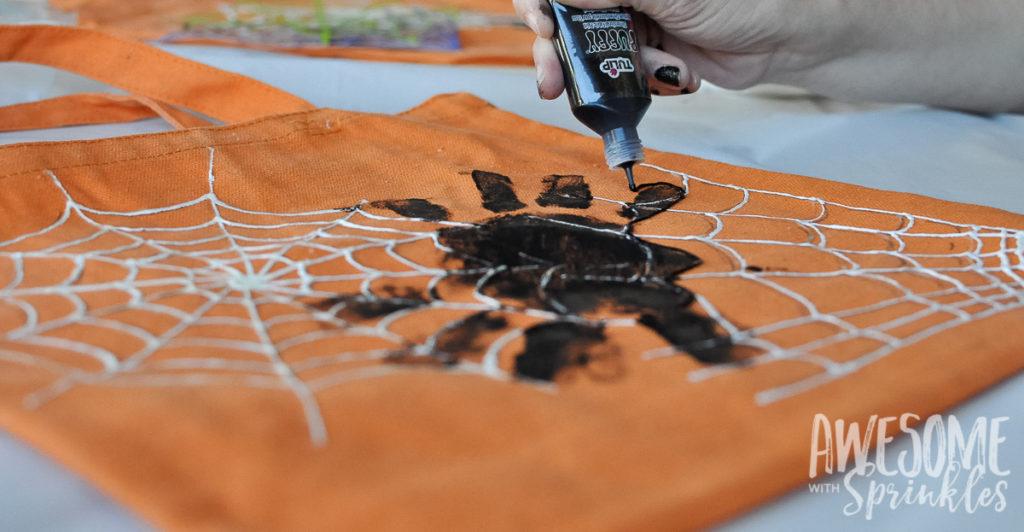
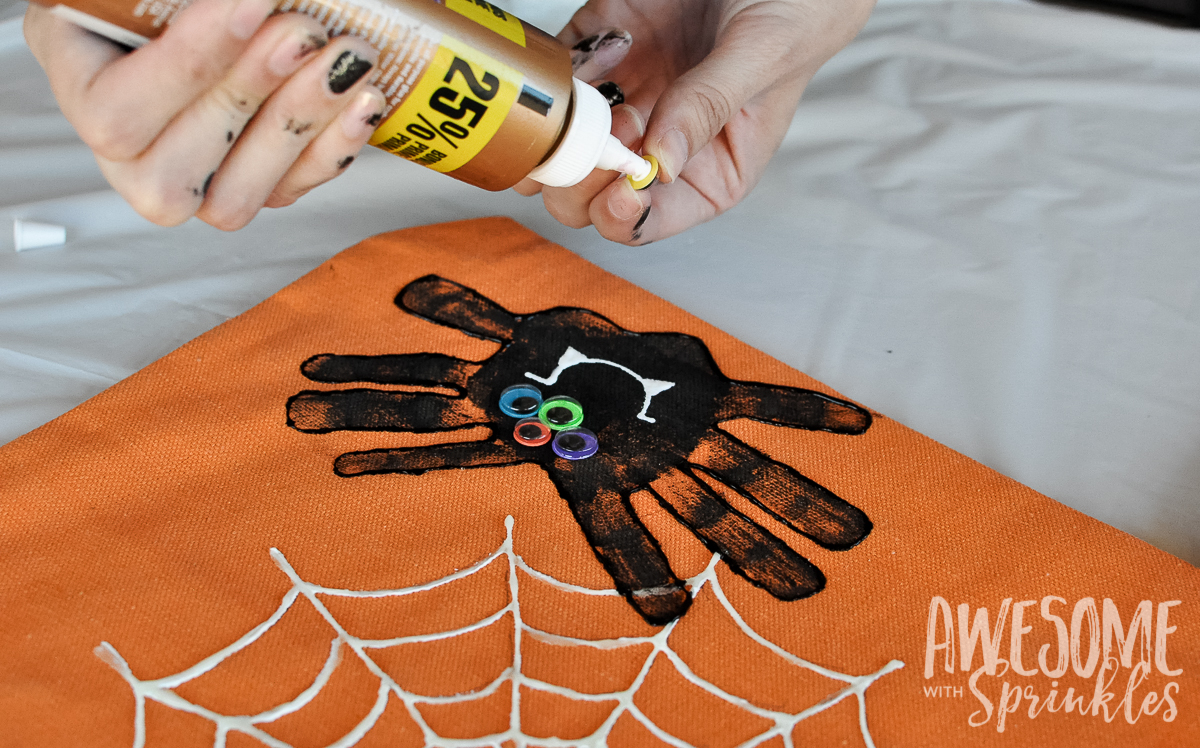
I also added a fanged smile to our spiders.
4.5 Fixing Up the “Oops”
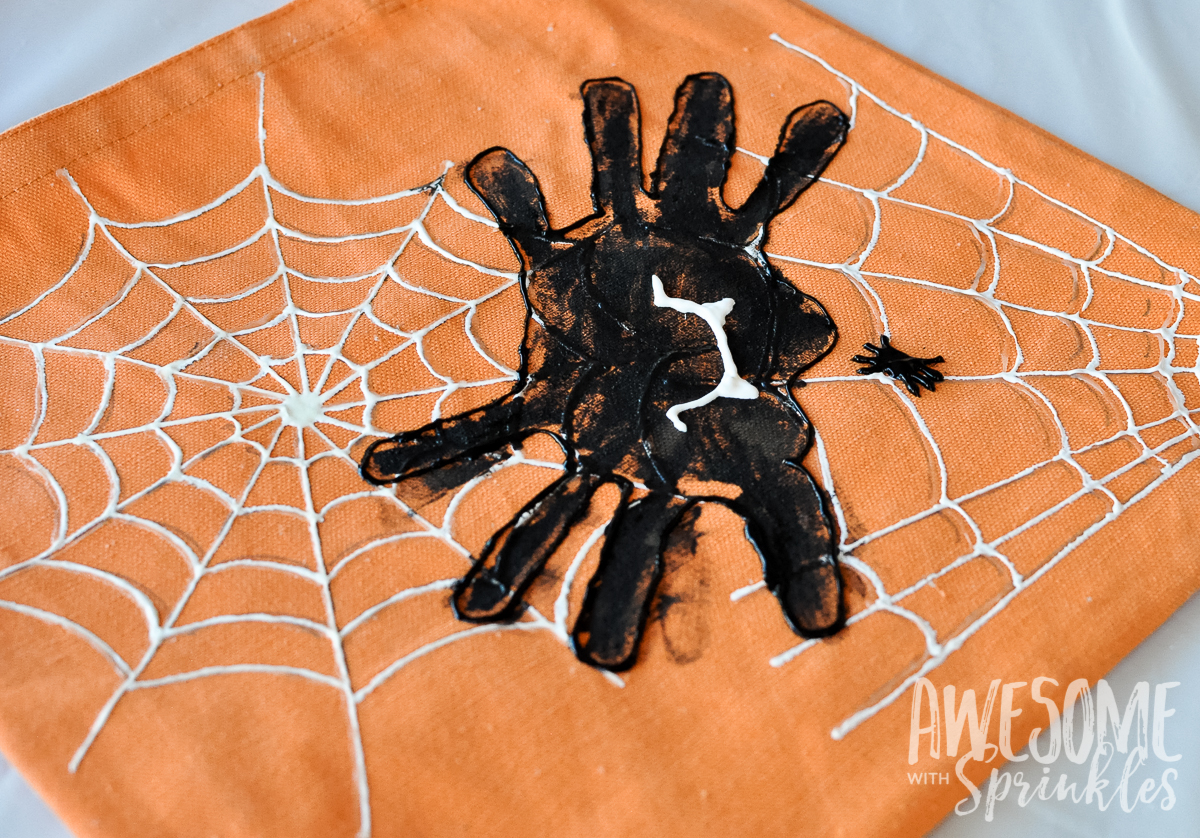
As you can see in some of the pictures, black paint ended up in places it did not belong. It happened on all three of our bags.
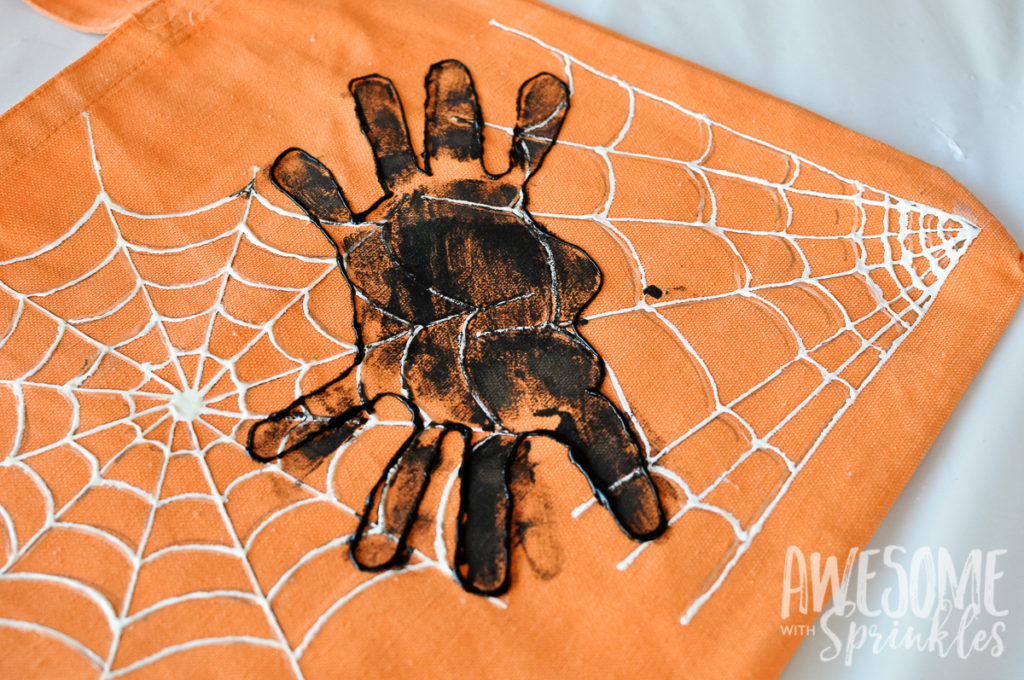
Because their is no such thing as an “oops” in crafting we turned those black splotches into tiny spider friends. CUTE!
5. Add the Googly Eyes
Using just a dab of tacky/craft glue, attach the eyes to palm/body of the spider. The glue will dry clear, so don’t be afraid to push them around a bit to get the placement you want. I loved how each of my little monsters picked out a rainbow of neon colored eyes for their spider trick-or-treat bags.
I am so in love with these spider trick-or-treat bags. Not only did I get to capture their hand size at their current ages, but now I don’t have to sacrifice another pillow case to the cause. (Although, in the past I have purchased buckets that get broken, or bags that are torn to shreds) Besides, look how adorable they are! Each had different requests for their bags that added to the personal uniqueness of them – my 5 yr old wanted his spider to be fuzzy!!! My Pikachu, Yarn Yoshi, and Batman are now all set to do some serious trick-or-treating!
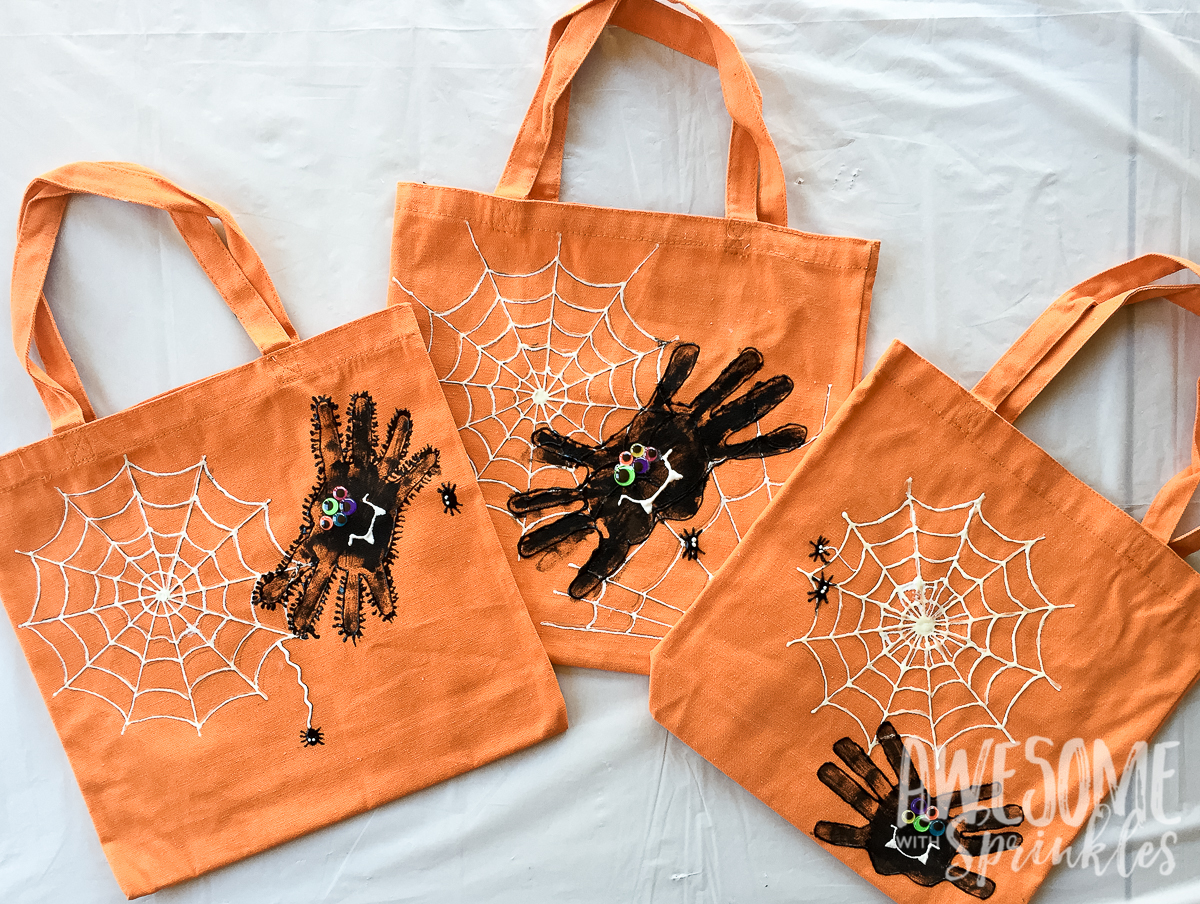
Try out some fun variations like black canvas tote bag with purple spider hands, or purple tote bags with black or green spiders! Use glitter puffy paint or sprinkle some glitter on before it dries! The possibilities are endless! Be adventures and make it your own!
I would LOVE to see pictures of your finished spider trick-or-treat bags! Have fun! (and from my lil monsters to yours…”get messy!”)




Leave a Reply