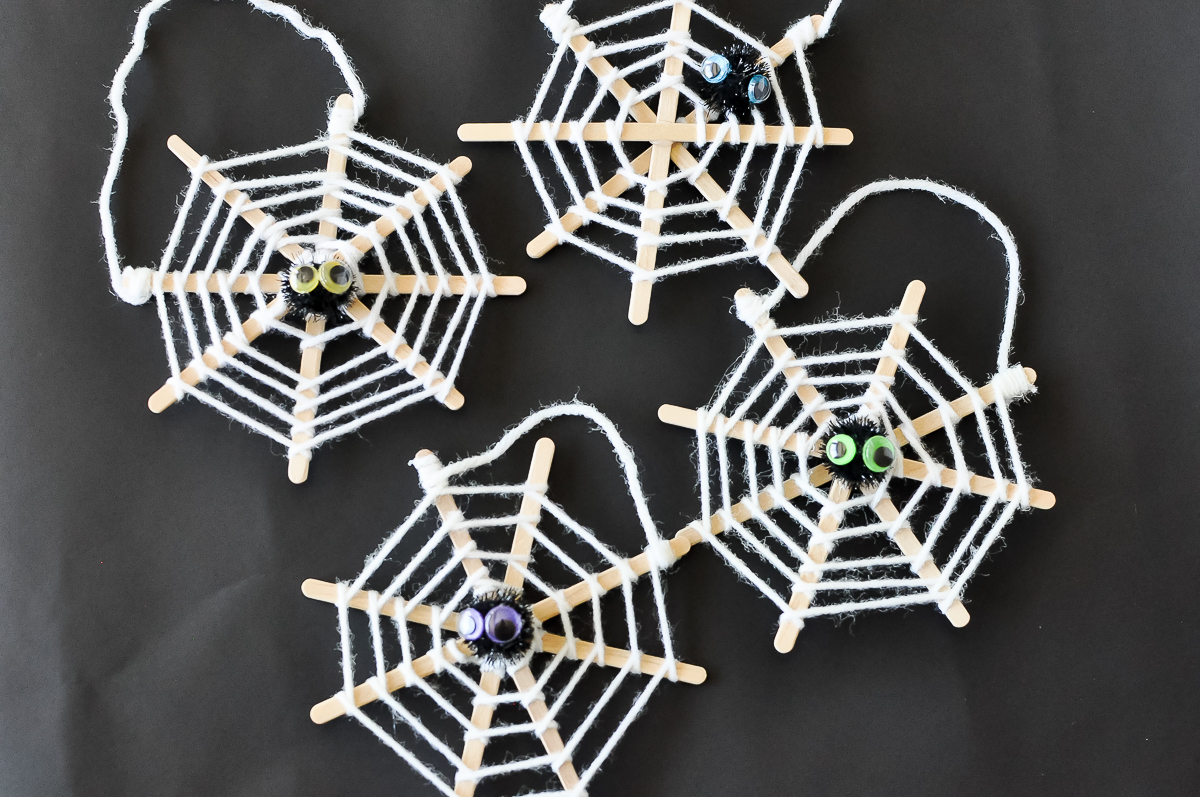
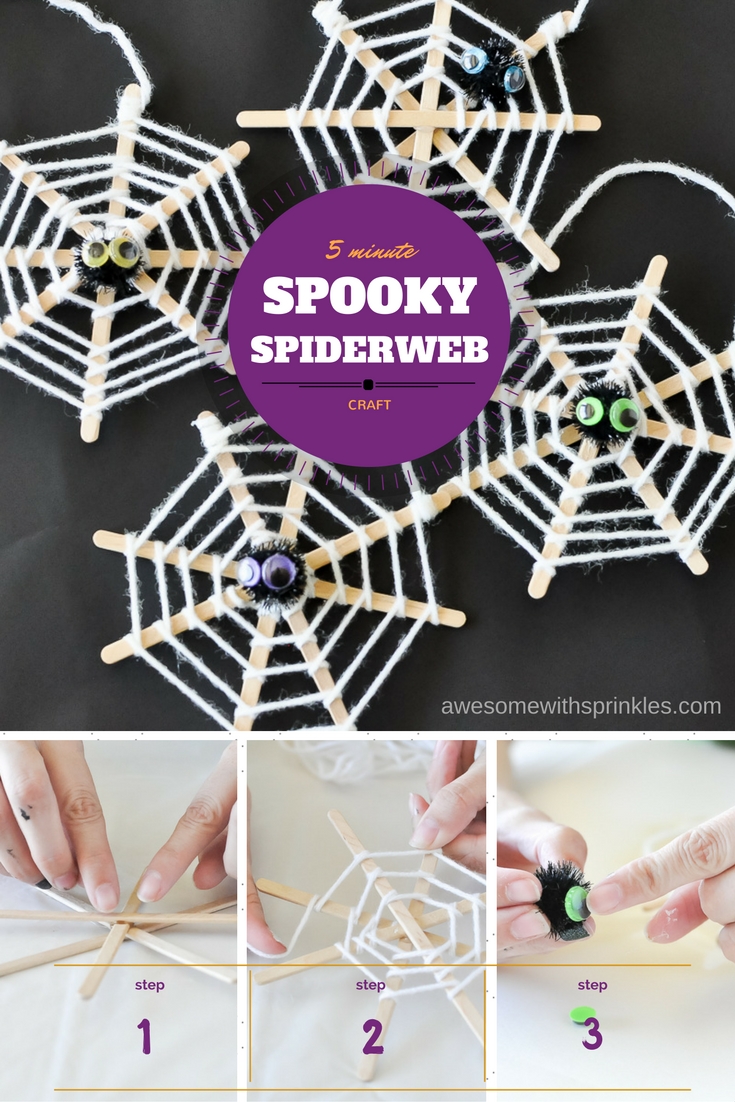
This is a five-minute spooky spiderweb craft! It would be a great addition to a teacher’s treat bag or as a fun party favor for the little spooks. We made these up one (very rare) rainy afternoon, and added them to our outside Halloween decor. These creepy crawlers had us all cackling with joy. Even our two (very Halloween appropriate) black kitties, Salem and Jinx, had fun chasing our “spiders” around.
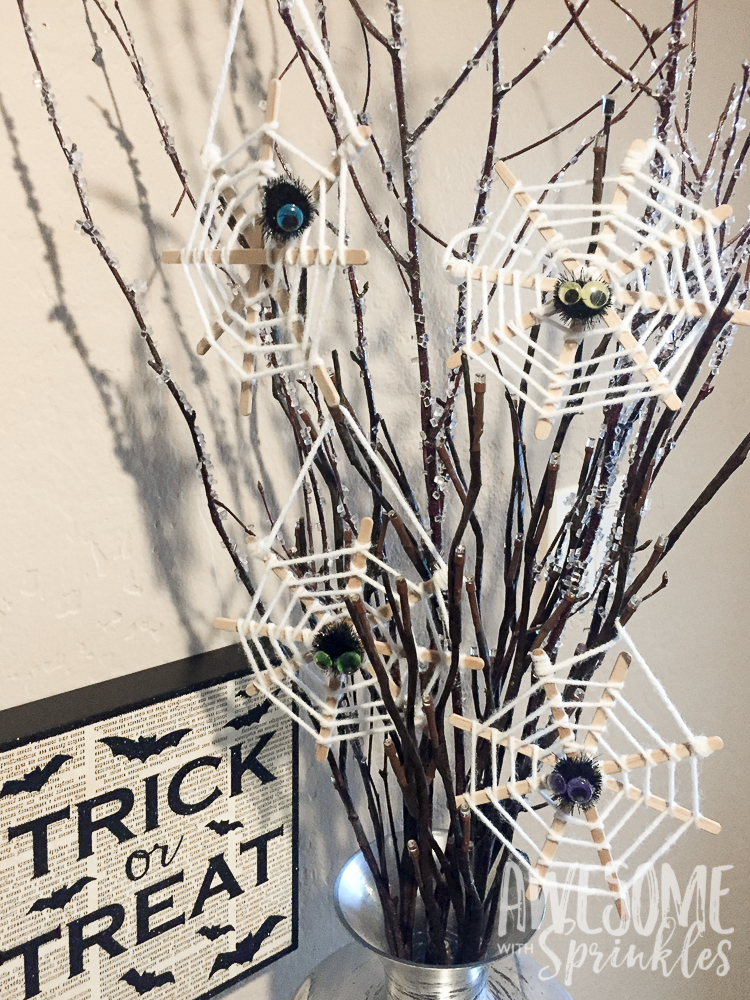
How to make Spooky Spiderwebs
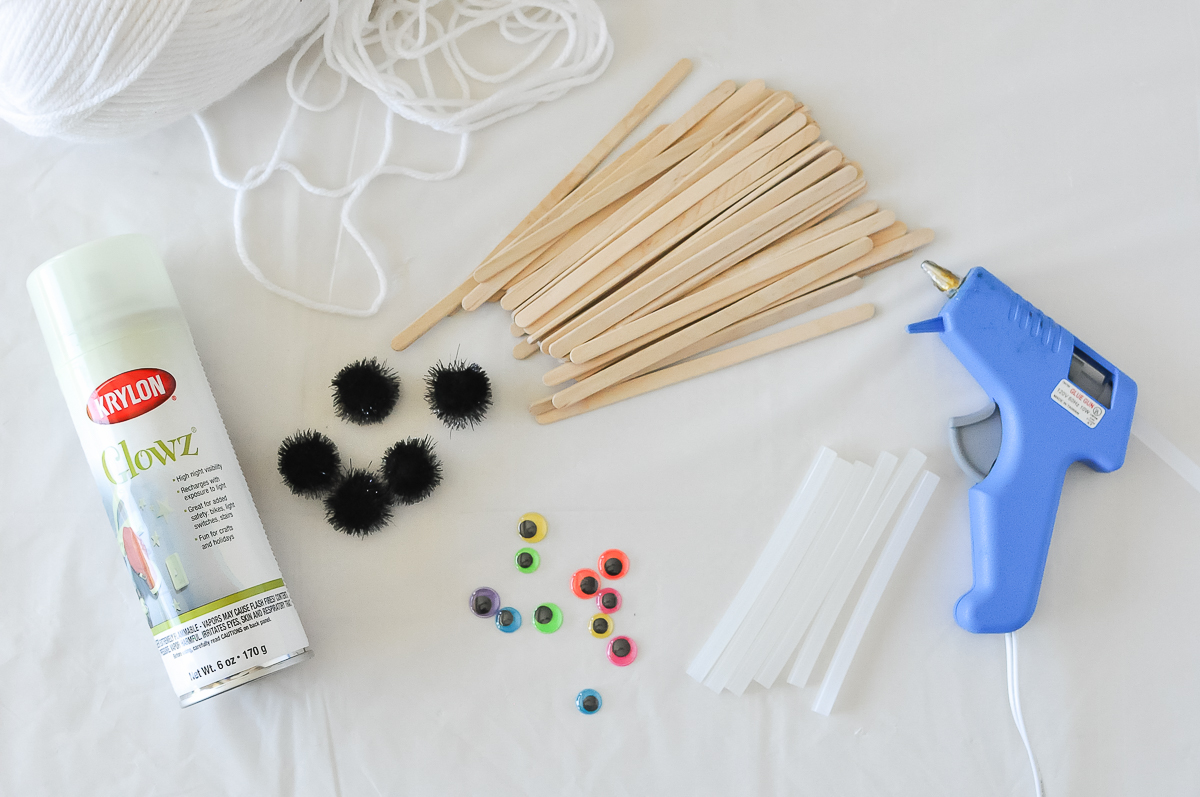
Gather:
- Skinny wood craft sticks (4 per spiderweb)
- White yarn
- Black pom-poms (we used the glittery ones!)
- Google eyes (I purchased an assortment of colors and sizes)
- Hot glue gun and extra glue sticks
- Glow in-the-dark spray paint
- Scissors
1. Assembling the Web (VERY HOT GLUE! ADULTS ONLY!)
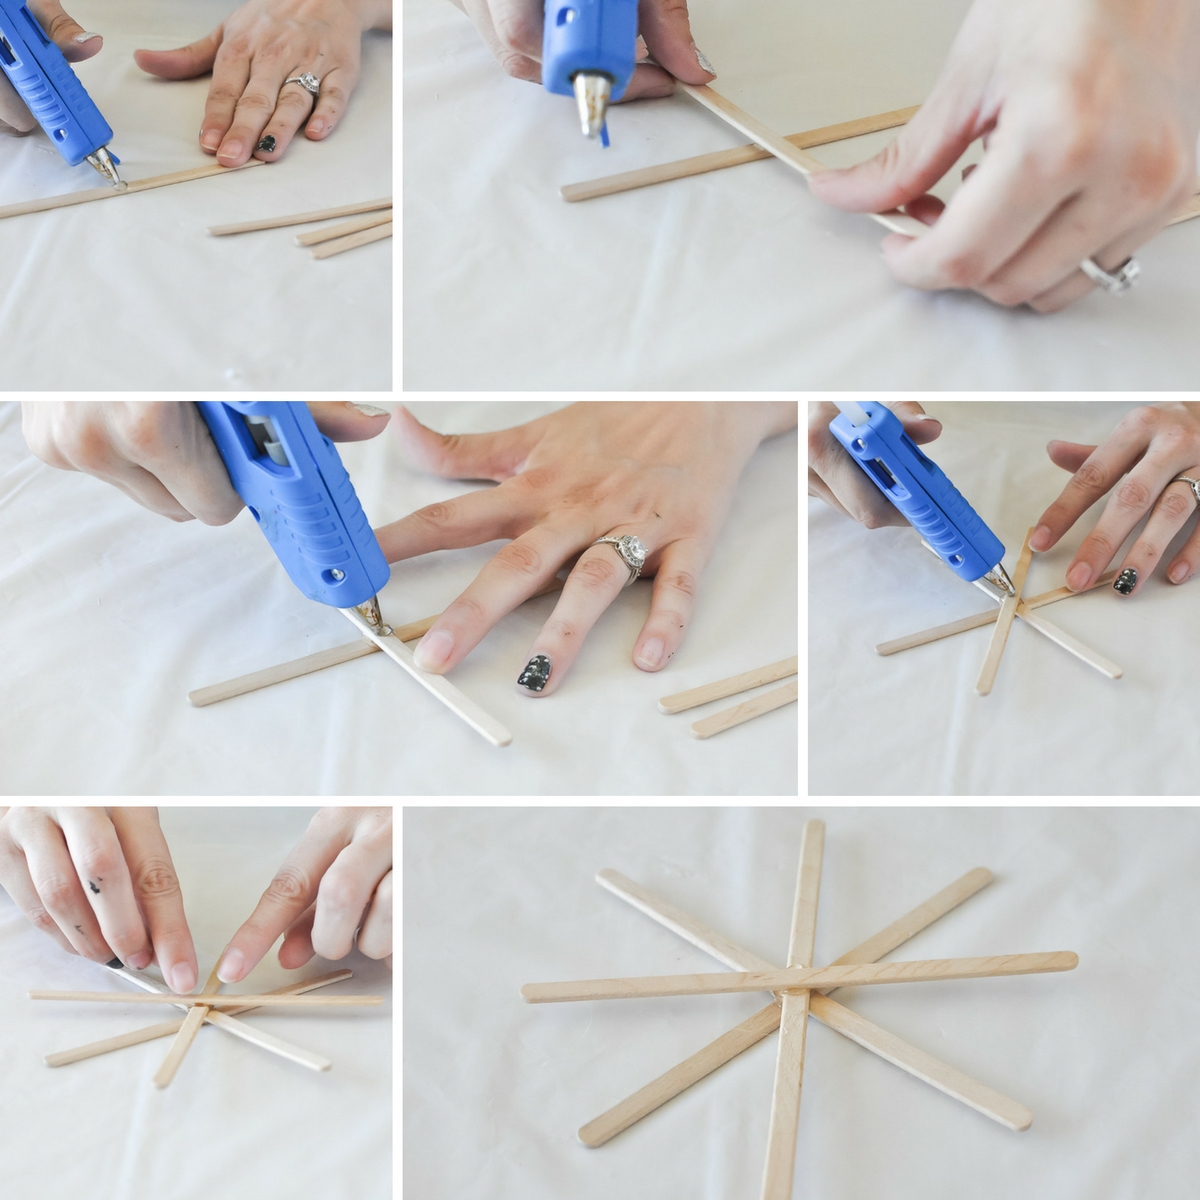
With your first of four craft sticks, put a dab of hot glue in the center. Place the middle of the next craft stick on top, forming an “X”. Press firmly and hold for a few seconds. CAUTION! HOT GLUE! Continue alternating to achieve an asterisk shape. This step goes pretty quickly when using a hot glue gun. If you would rather use craft glue, allow it to sit overnight. Set each web aside for a couple of minutes and allow them to completely cool. If you are making several at a time the first structure will be set by the time you complete your last structure.
My little monsters all wanted to take a turn with the hot glue gun (nope). I strongly advise against letting the kiddos use one. Even as an experienced crafter I end up with VERY hot sticky glue on my fingers from time to time. Ouch!
2. Stringing the Web
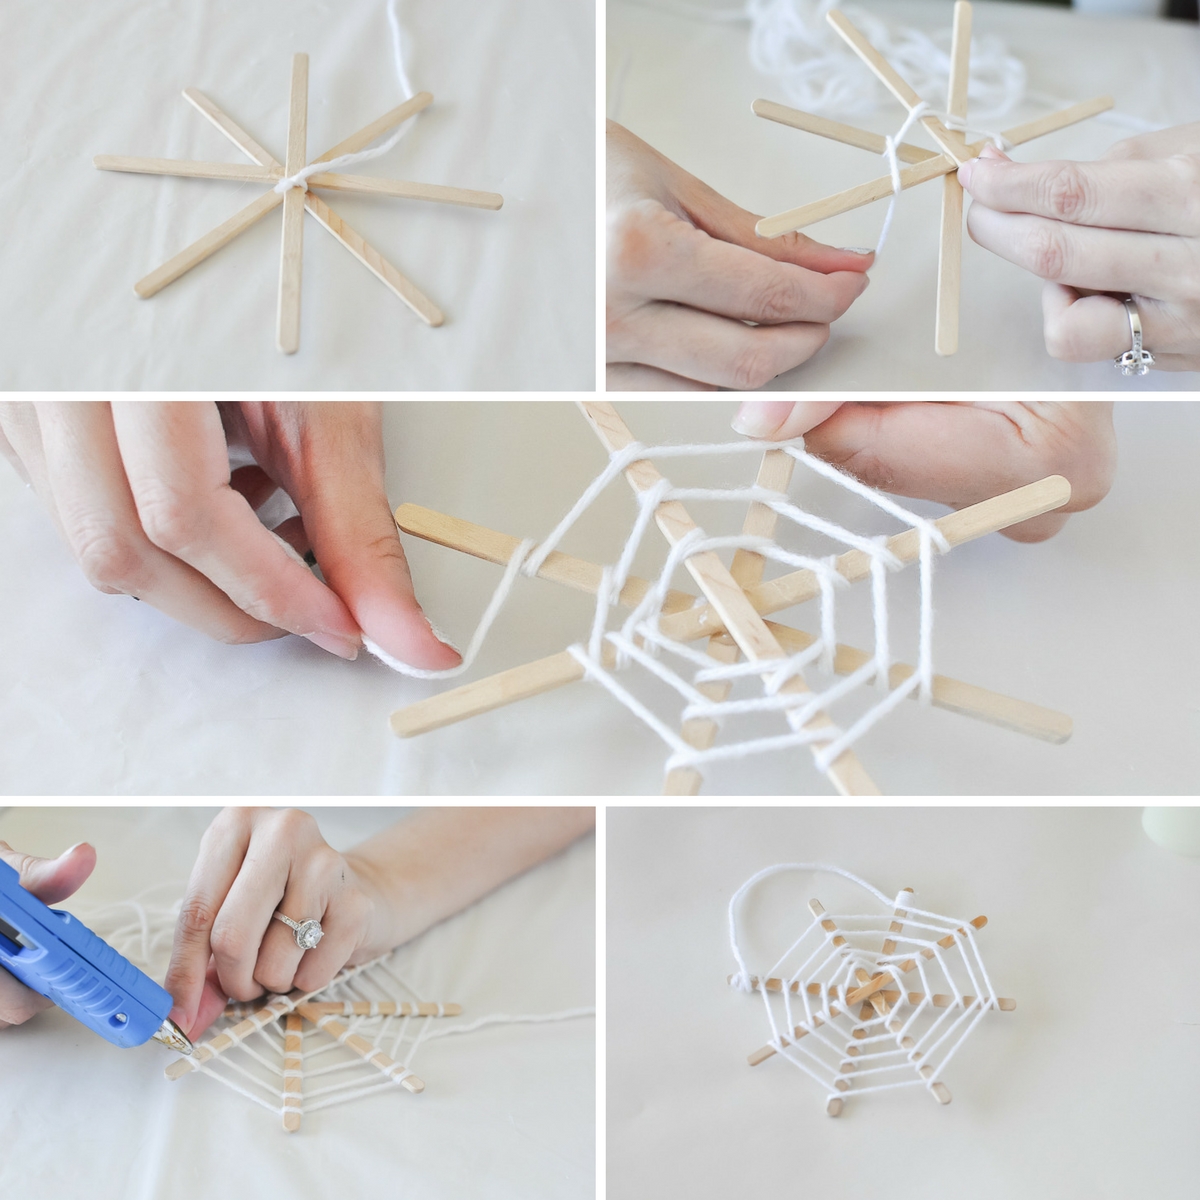
Next take about a yard of yarn (you can measure from your nose to the tips of your fingers and that is about a yard, give or take). Tie one end to the center of the craft sticks, then begin winding the yarn once around the next craft stick, keeping the yarn tight as you go. If your yarn starts slipping, go ahead and use some more hot glue to keep it in place.
Continue until you feel your web is the size you (or your little crafter) would like. Be sure to leave at least 6 inches of extra yarn at the end to provide a way to hang your spooky spiderweb. To finish, place a dab of hot glue on the ending craft stick and wrap the yarn over it a few times. Skipping a craft stick, add another dab of hot glue and wrap the loose end of the yarn around to secure, leaving a little slack for the hanging hook. Trim off any extra yarn.
I really enjoy this part of the craft! It is oddly very soothing to wrap the yarn around and around. It did prove to be a bit tricky for my 3-year-old little monster. So while I helped him, he was distracted with the kitties running after our pom-poms – soon-to-be spiders.
3. Spray and Glow!
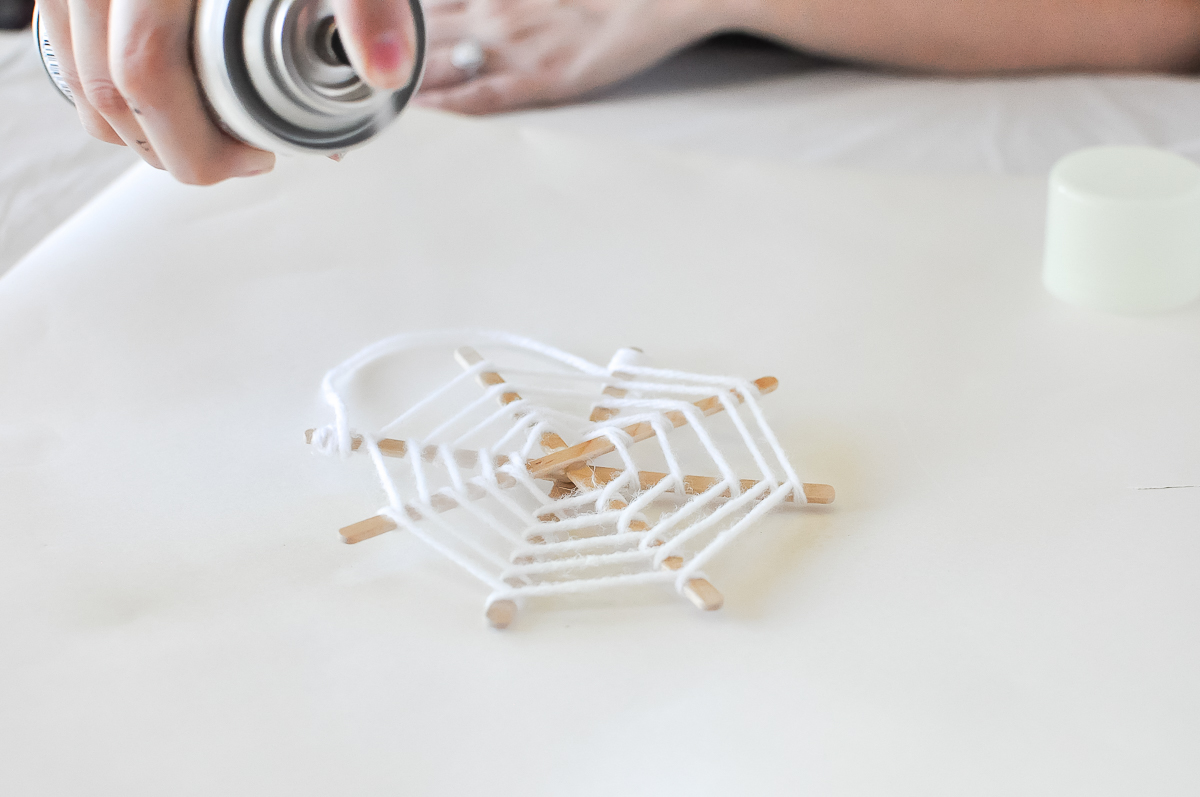
In a well-vented space (outside) place the spooky spiderweb on a piece of cardboard (or butcher paper) and spray the yarn generously with the glow-in-the-dark spray paint. Set aside to dry while you make your creepy crawly spiders.
4. Spider Eyes
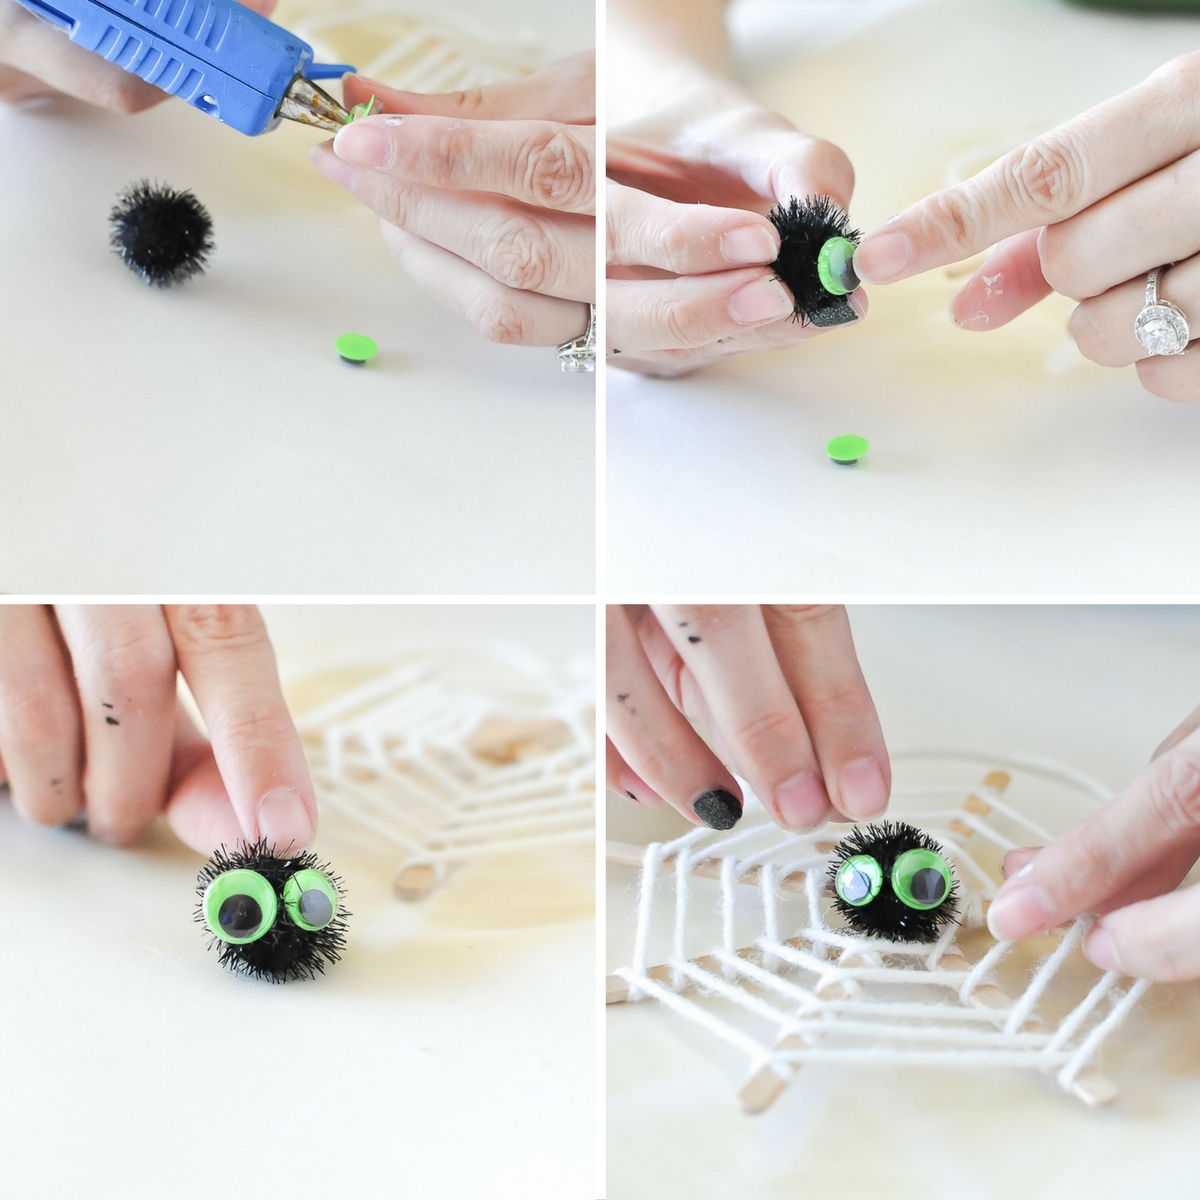
If you or your little ghouls have not already done so, select the googly eyes for your spiders! CAREFULLY put a dab of hot glue to the back of an eye and place it onto a pom-pom. You can use different sizes or colors of eyes and space them close together or far apart to get different looks! Our silliest spider, that had us cackling the most, has his eyes spaced generously apart. Once your spider can see, place him anywhere on your web with a dab of hot glue to his underside or on one of the craft sticks. He will be a bit “eye” heavy, so be sure to put the glue in a place that will balance well and let him see the world.
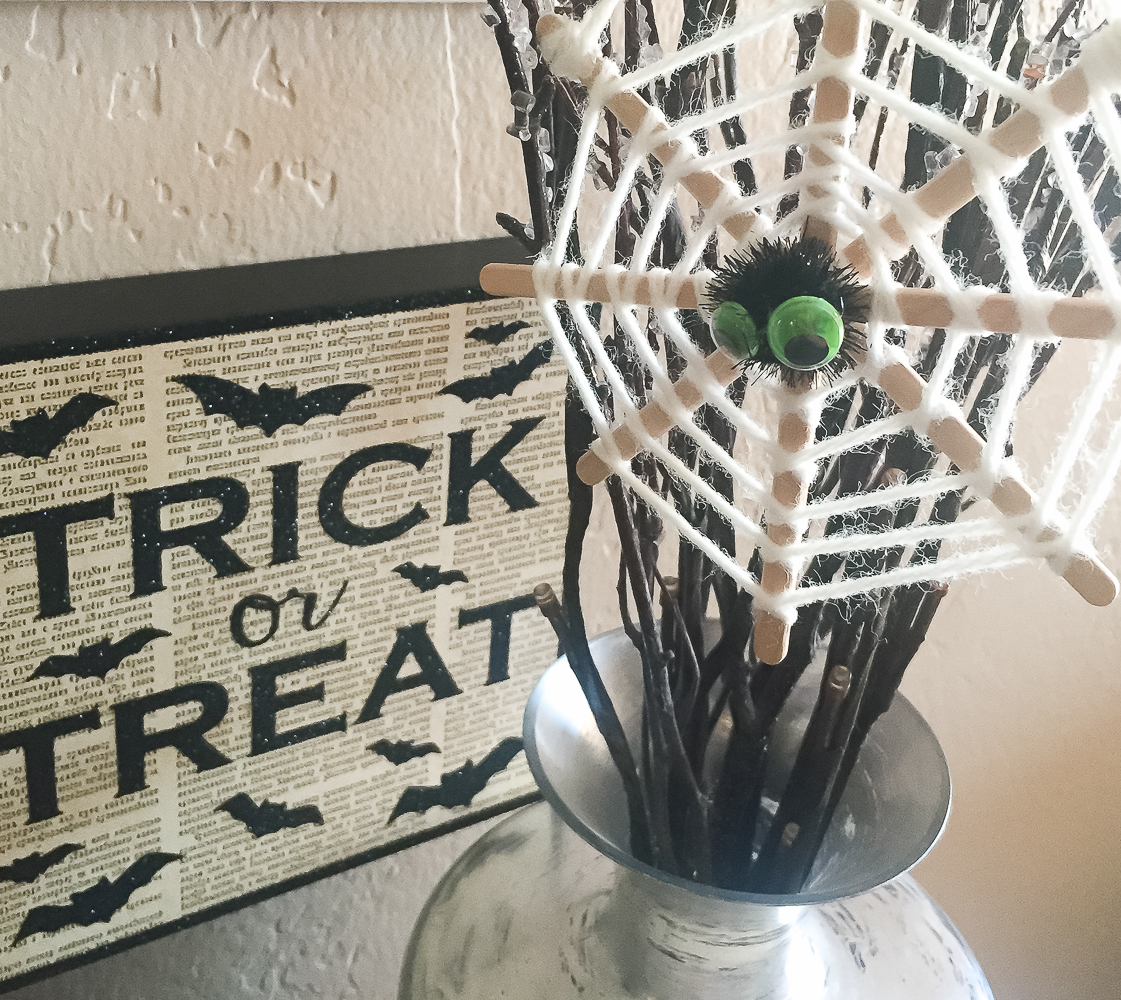
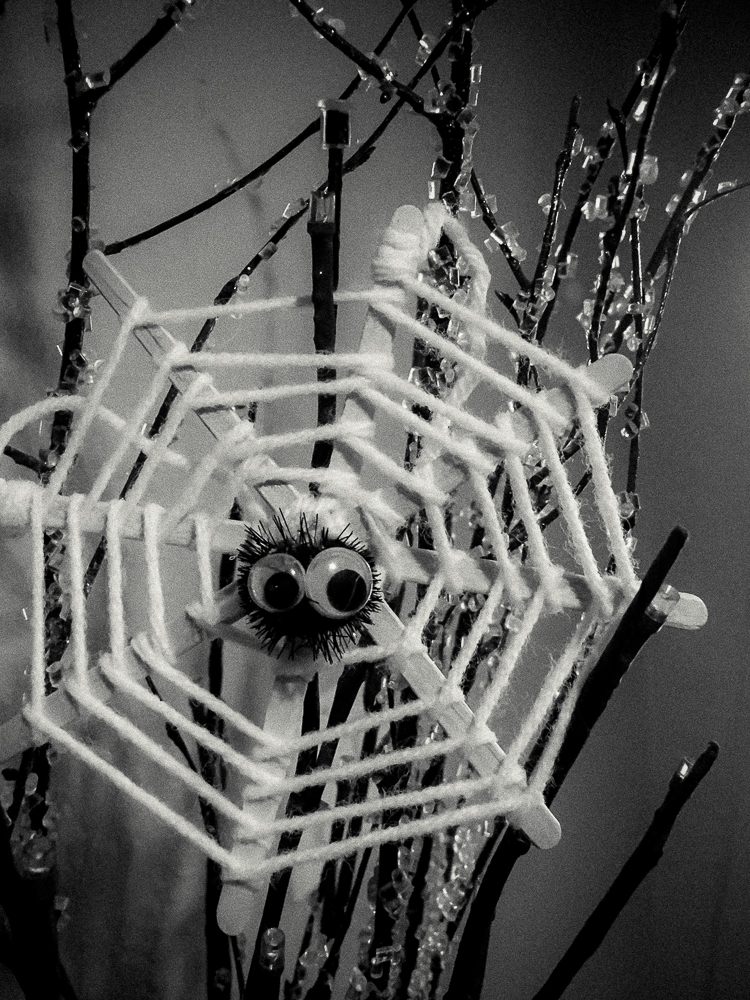
That’s it folks. It is such a fast craft! Which is fantastic for little ones who like to see a project completed in a short amount of time. We have our spooky spiderwebs in the front yard. My little monster likes to peek out at them in the evening and see the webs glowing! My 7-year-old monster loves his so much that he made an extra to give to his teacher, along with a small treat! Happy spooking!
If you are looking for more fun Halloween kid’s crafts, check out these Handprint Spider Trick-or-Treat bags!
Don’t forget! Pin this kids craft for later. 🙂




[…] Learn More: Awesome With Sprinkles […]