“Stop. Oh yes, wait a minute Mister Postman…” Let’s face it, the days of waiting for a letter to come in the mail are long gone. We are surrounded by technology every waking (and sometimes non-waking) moment. I know I’ve woken up still clutching my phone! #PinterestAddict Handwritten notes have been replaced by texts and Facebook Likes, and it’s made checking the mail more of a health hazard than a moment of joy. From bills to junk, Mister Postman isn’t bring anything very exciting…unless of course, I’ve completed some online shopping therapy!!
Don’t break-up with your postman just yet. I’m here to help you rekindle your relationship with some good old fashioned hand made note cards.
Confession time: I am the worst at writing Thank You cards. I truly make an effort to jot down a sincere note, but I often don’t get around to writing the actual note. In an effort to curtail this sad failing, I keep a stack of monogrammed blank cards in my “magic drawer” and a few in my planner so I can write a note in the moment it occurs to me. I went to pull them out the other day and discovered I had used them all. YAY! Time for a fresh batch of cards, and an excuse to go stationary shopping!
While perusing my favorite store ever *cough Target cough* I was shocked by the cost of these adorable cards! When did cute note cards get to be so expensive?! With 3 boys (4 if you count my husband) and a house full of kitties, every dollar counts.
I pulled up my Amazon app to do a bit of stationary research. Could I get something just as cute, or cuter, for cheaper? There were lots of cute cards but I stopped scrolling when I came across a box of 50 blank cards and envelopes. It hadn’t occurred to me before to make my own. After all, I am crafty! Duh! These boring white cards were calling to me. They were blank slates ready to be covered in all the awesomeness! *cue winning sound*
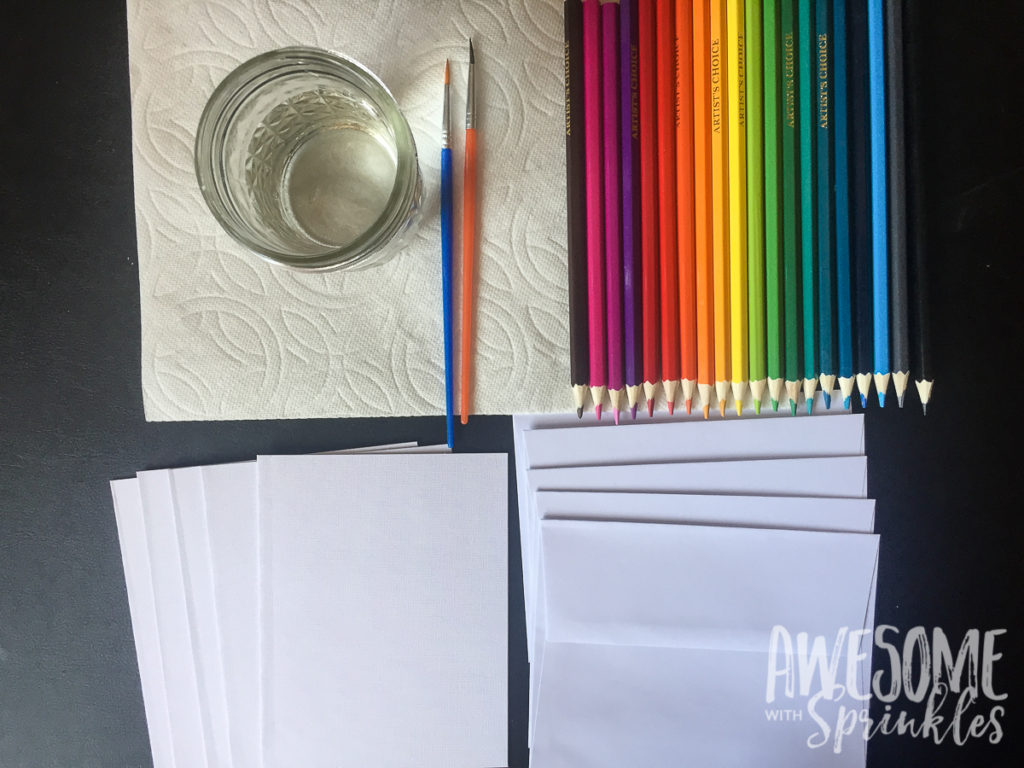
What you need:
Supplies:
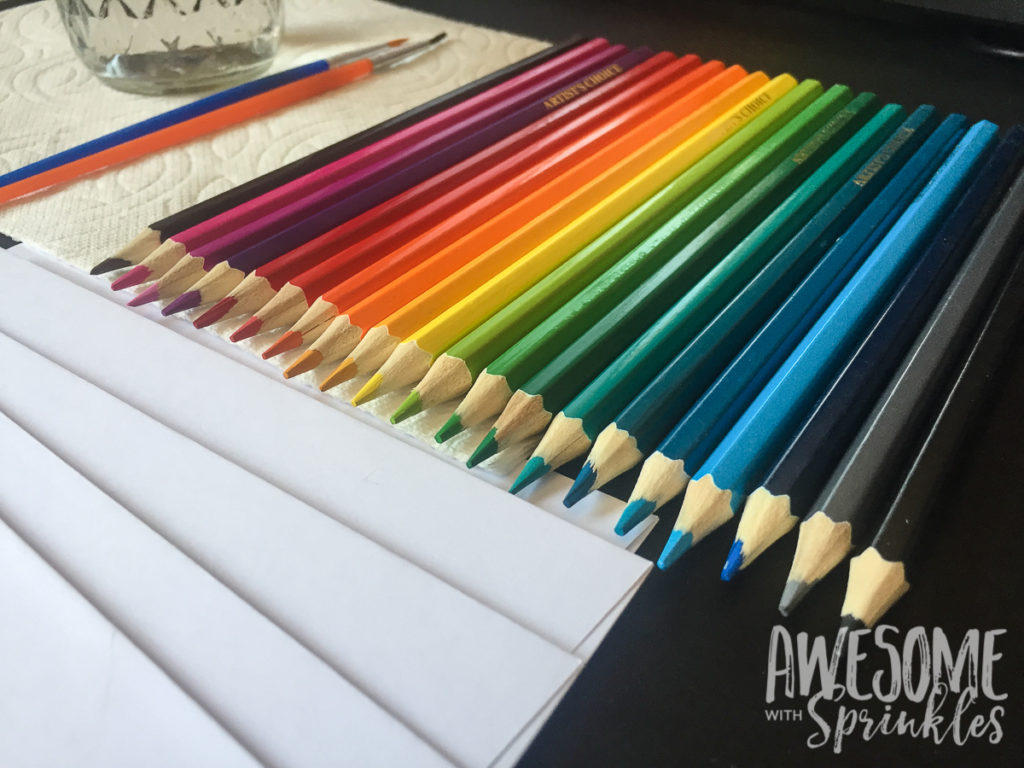
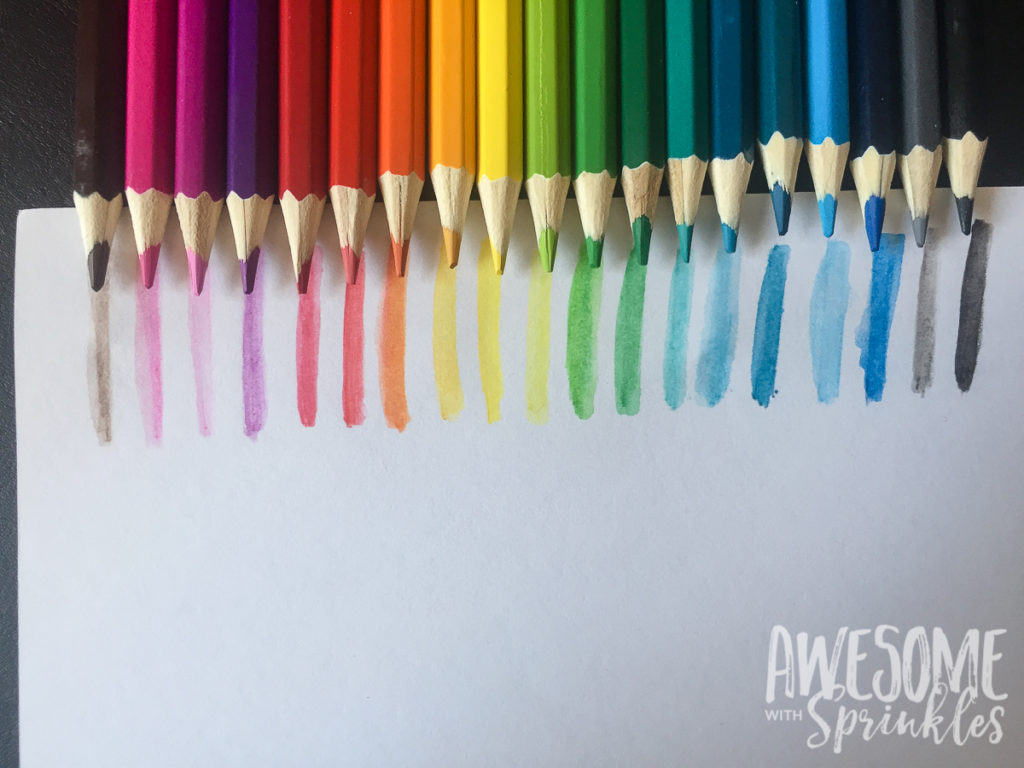
- Artist’s Choice watercolor pencils (72 colors to pick from! – I pulled out a range with a light and dark option for each color of the rainbow)
- Sakura pens in black (or any other kind of felt pen you love or have on hand)
- DCWV Cards and Envelopes, White
- Assorted paint brushes
- Jar or cup of warm water
- Paper towel
- Scrap paper
Why watercolors? In all my days of crafting, I have used a variety of mediums and really wanted to try something new. Watercolors are not something I have dabbled in much but I love the look, so I went for it!!! Well, not watercolors in a traditional sense. I found these awesome colored pencils that when water is added to them they make a watercolor effect – Artist’s Choice Watercolor Pencils, bonus they also include a fine tip paint brush. Sweet! Crayola also makes a watercolor pencil set if they’re your brand of choice. The pencils allow for more control than a traditional watercolor set and freehand brush.
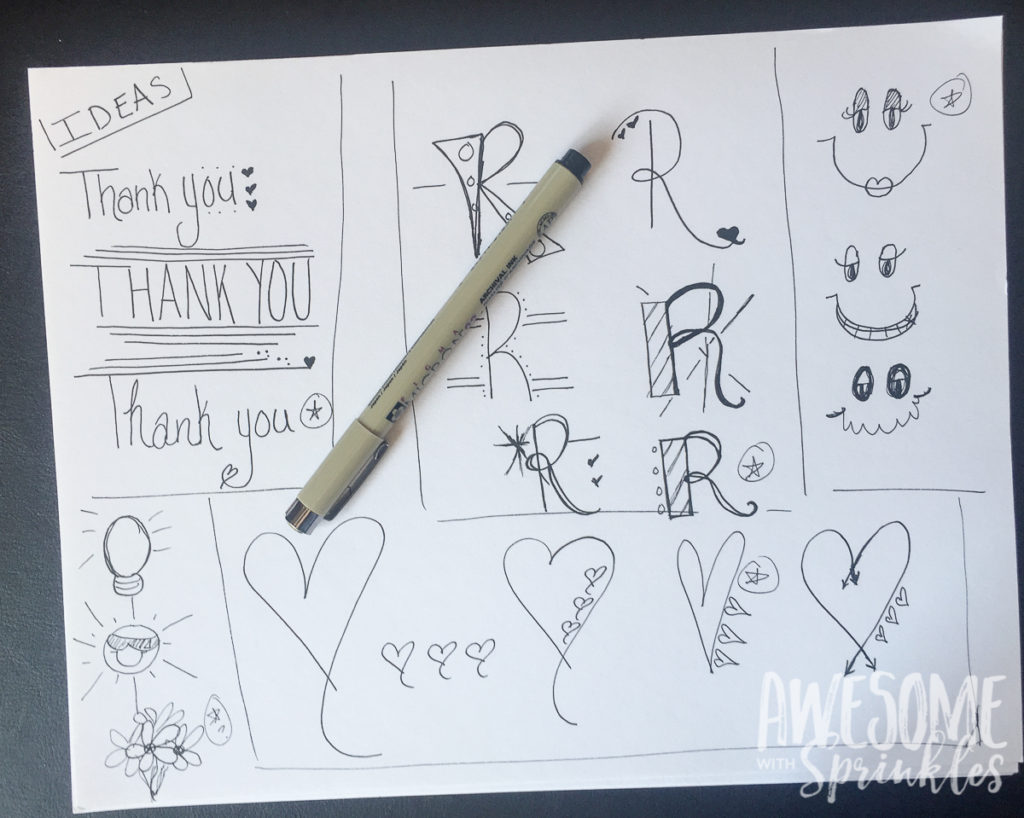
Doodle it Out
When I’m bored, on-hold on the phone, or waiting for one of my boys to finish an activity, I doodle. I have created pages of doodles and have a growing list of possibilities to choose from! To get my creativity flowing I like to sit and doodle out my ideas. Many times I start with something in mind and end with a design that evolved as I work. It is also a great way to practice any free hand lettering you might want to do and helps you to figure out spacing and shape before you turn to the permanent pens.
Please do not feel like you have to be Picasso. The more “you” it is, the better! It is your personality that will shine through and make your cards more meaningful! After all, isn’t that the point?
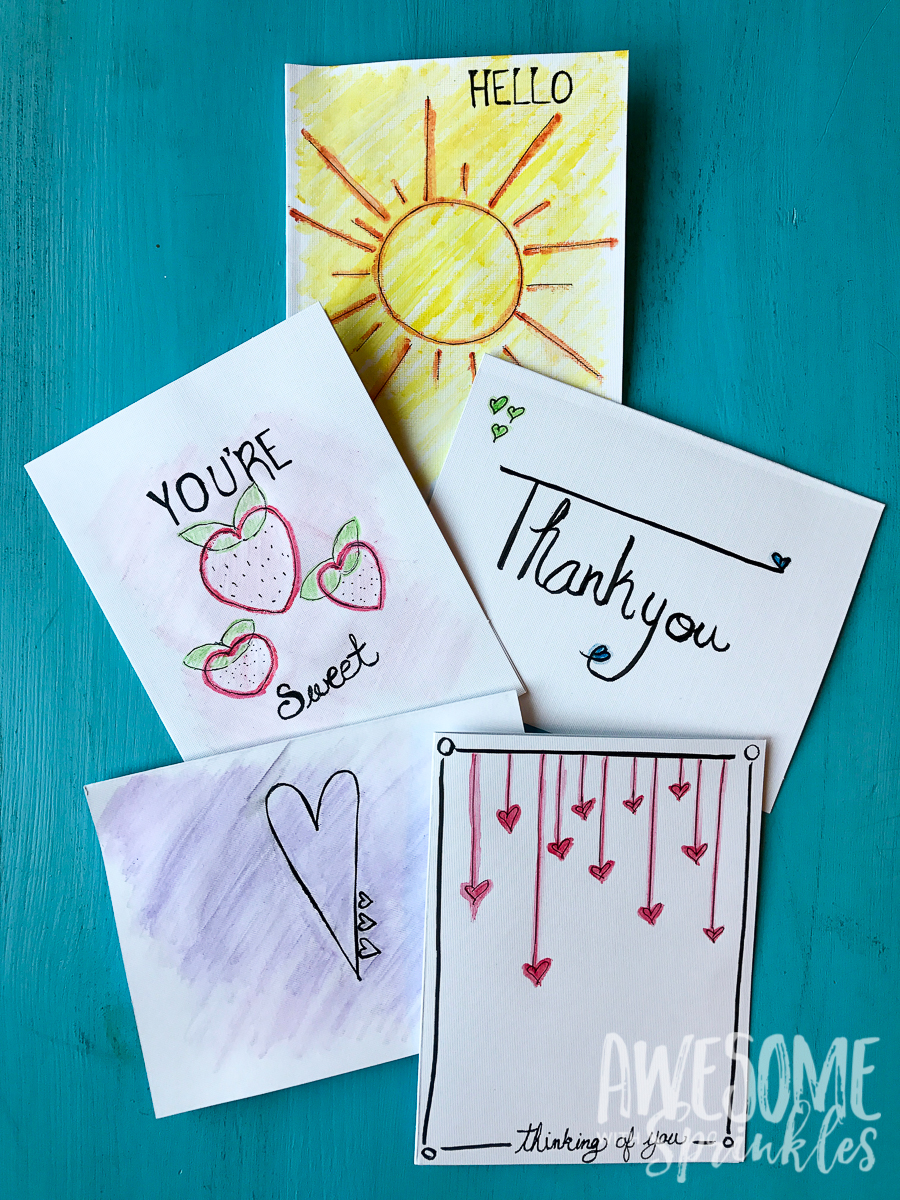
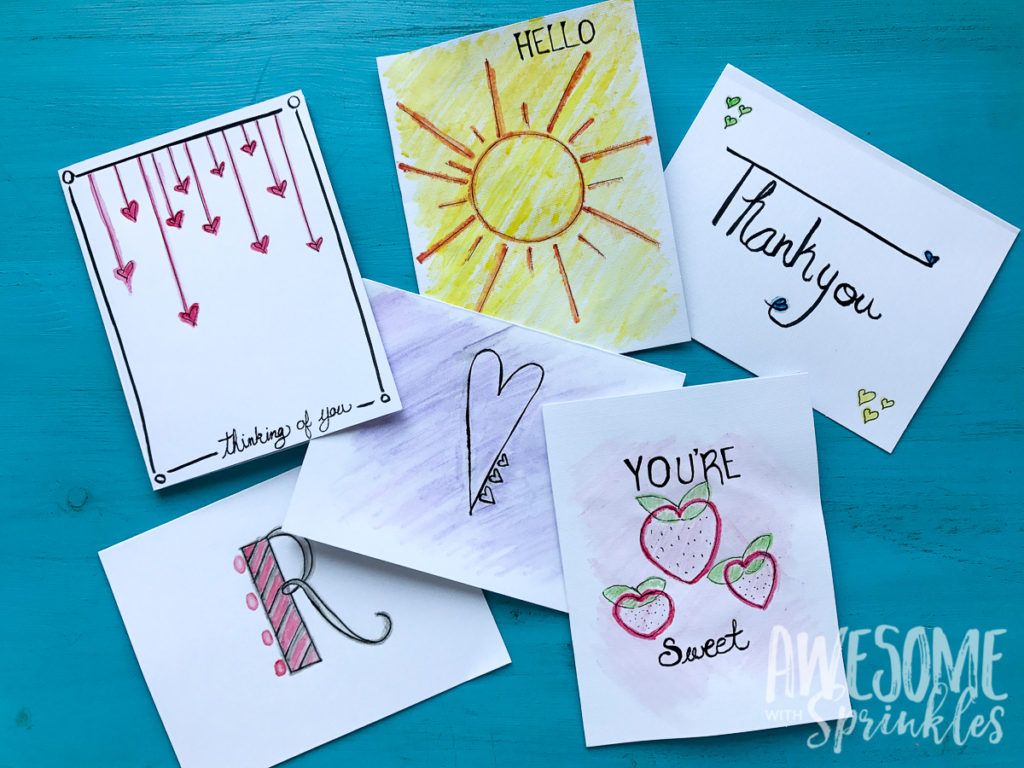
Here is my sketch paper of ideas. I wanted to create Thank You, Fun, Thoughtful, and Personal cards, so my sketches reflect a little bit of each of those.
Pinterest is also full of ideas to inspire you. Check out our Fonts + Lettering Pinterest board for ideas and tips for your handwritten messages! Sometimes you need to see what others have done to get the creative juices flowing. Bonus – Doodling also relieves stress!
Making Art
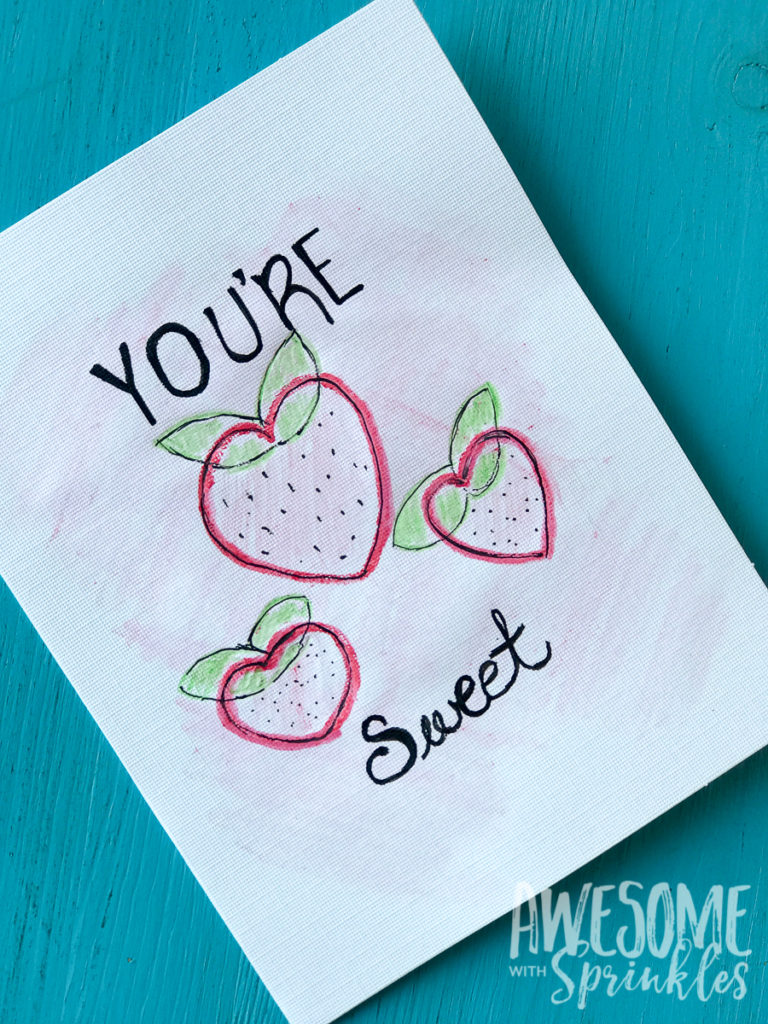
A touch of color is definitely needed to cheer these blank cards up! I wanted to be sure and keep things simple and colorful, and these watercolor pencils are perfect for the job! They are so fun and were super easy to use, even the first time I pulled them out. There are two ways to go about using them. The first, which is my preferred method, is to color directly onto the card with the pencil and use the paint brush to apply the water to blend out the color. This creates a stunning, softer look.
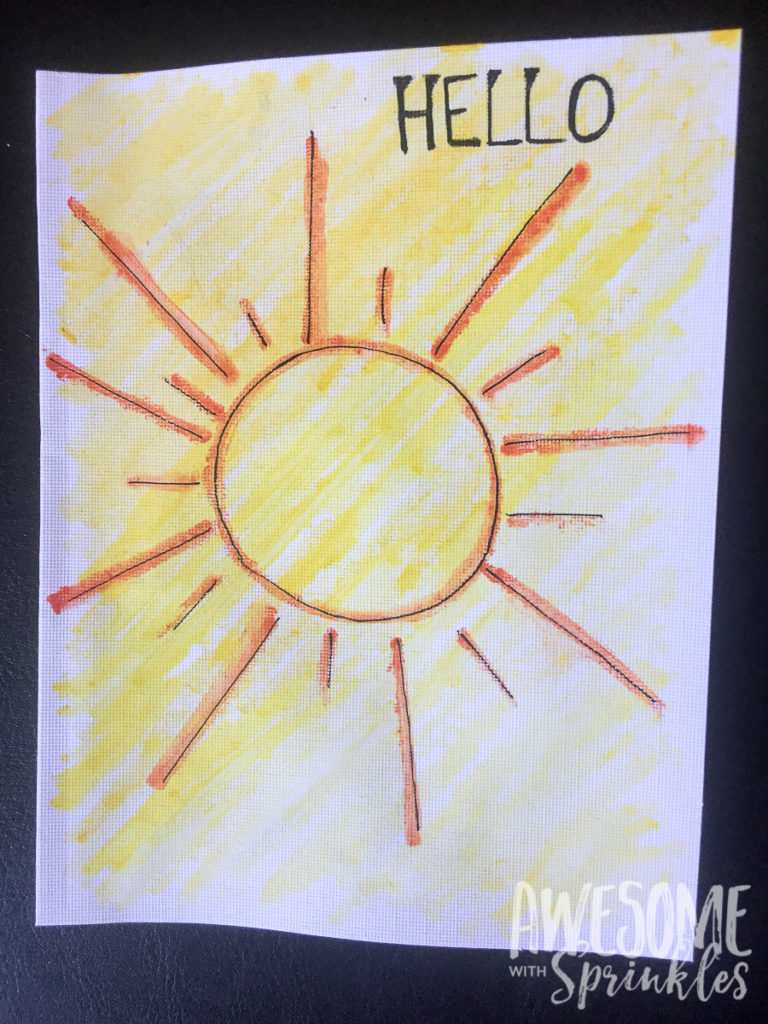
The second method is to dip the pencil directly into the water then write or color as normal. While it gives you great bold color (the rays of the sun in the pic below), it is a bit more time intensive as repeated dipping is required. I also found I had to retrace my work several times to get the watercolor look.
Pro Tip: If you use the dip and draw method, be sure to tap or dab the extra beads of water off the pencil before going to your paper, or else it will make a soggy mess. I learned this the hard way!
Finishing touch
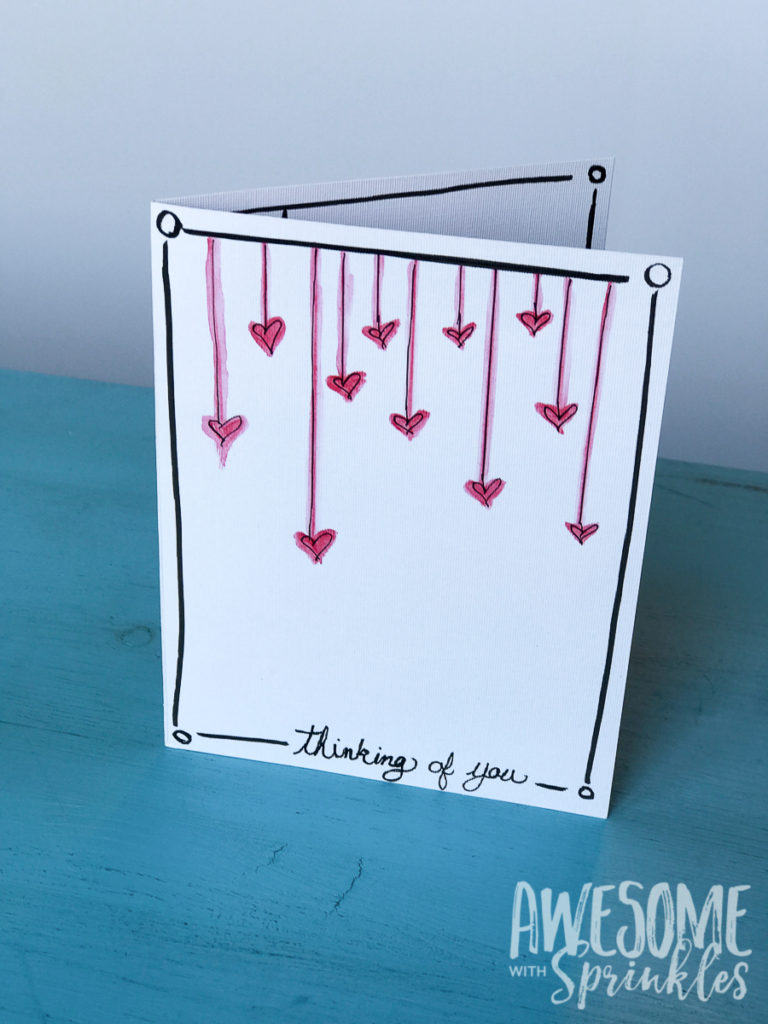
I added one more element. Black ink! AMAZING! It makes the designs pop! I have several different types of pens, but Sakura is my go-to for most everything. They are fabulous! Sakura use an archival, water and fade proof ink! I also really love the variety of tip sizes they offer, and how smoothly they always write.
If you decide to add ink over top of the watercolor, keep in mind that the watercolor will need to dry completely first. I worked on two or three cards in between before adding the black ink to the first card I did.
Custom Watercolor Cards
Truly there are endless possibilities and a range of products you can use to cover “Plain-Jane” cards, and for only a fraction of the cost of store bought. Don’t limit yourself – be creative and go for it!
Now I have 50 hand-painted, blank cards, ready to be filled out, just waiting to spread gratitude, well wishes and cheer. Next time you see the postman, he might have a letter from me to you!
“Please Mister Postman, look and see
(Oh yeah)
If there’s a letter in your bag for me…”
-The Marvelettes – Please Mr. Postman (1961)
Don’t forget the kids! I gave each of my boys a small stack to decorate for when they need to write notes for Teacher Appreciation, Thank You’s to friends and relatives, and other occasions.
I would love to see what designs you create. Please feel free to share a picture of your watercolor project in our comments or on our Facebook page!





Leave a Reply