Guys! Halloween is just around the corner, but there’s still time for a little DIY! Spookify your Hallo-decor with this totally adorable itty-bitty bat pom-pom craft!
Pom-poms are all the rage this year and can be seen adorning everything from shoes and handbags to pillows and lampshades. Even Adele is getting her pom-pom craft on! One thing is for certain, pom-poms are certainly making a comeback!
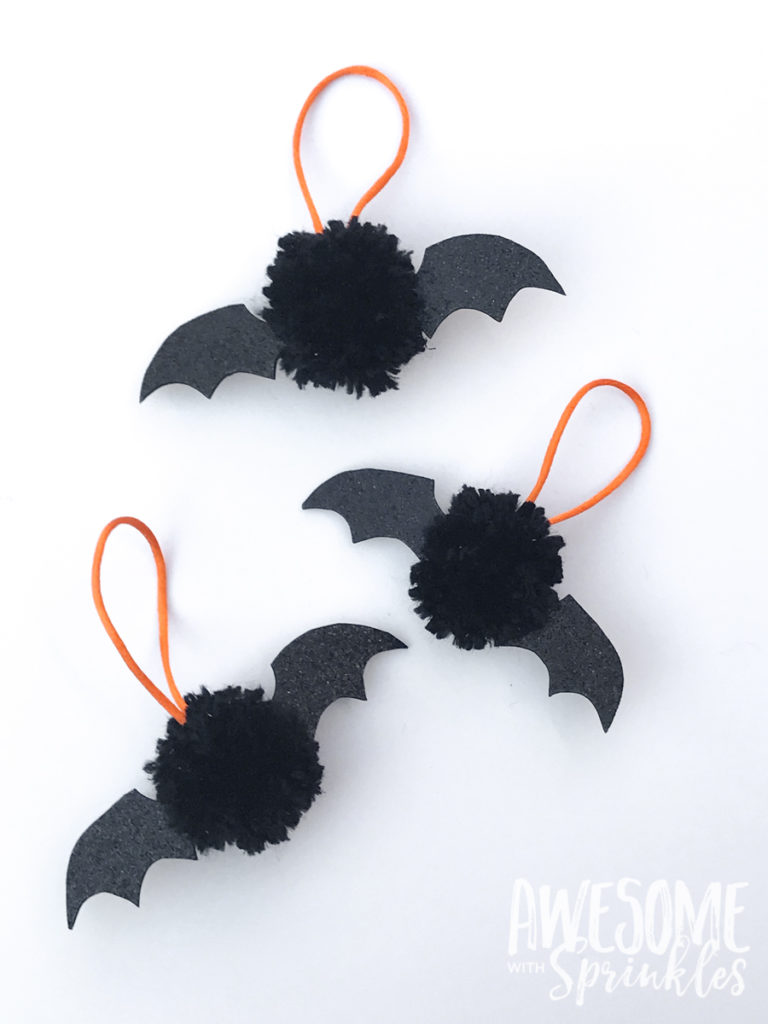
And they are SUPER easy to make! You don’t need any fancy tools or gadgets for this craft. Basically just some yarn and a fork! Yup…a fork.
This is the perfect craft to do while relaxing and watching your fave TV shows. It’s Octoberween so “Scream Queens” and “Buffy the Vampire Slayer” are my go-to’s for this month! You can even have the kiddies help!
So toss on your fave flick and let’s get crafty!
How-to: Itty-Bitty Bat Pom-Pom
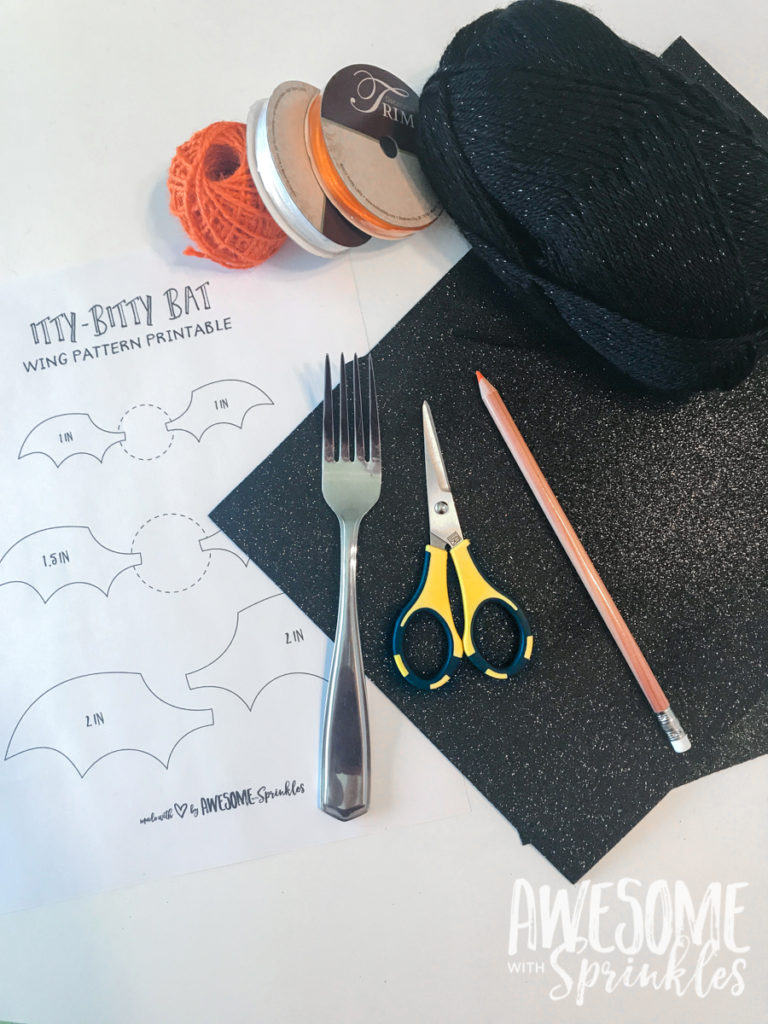
What you’ll need:
- fork
- black yarn
- glittery foam sheet
- bat wing printable template
- scissors
- pencil
- hot glue gun + glue sticks
- cord/twine for hanging (optional)
1. Make an itty-bitty pom-pom
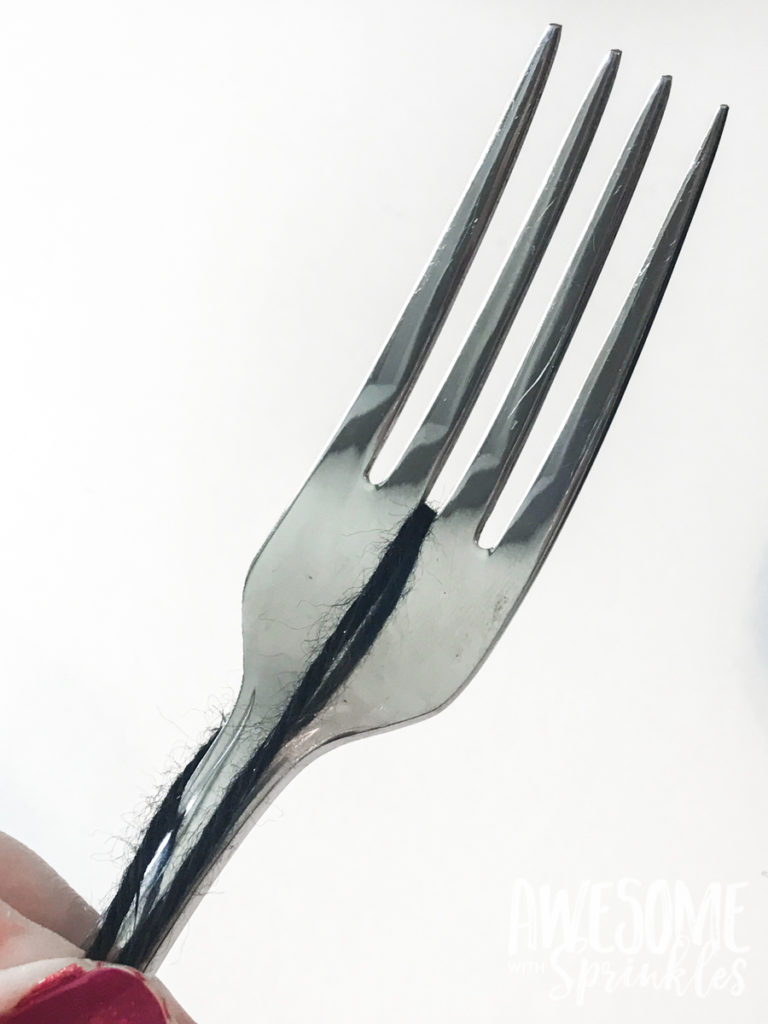
Cut a good length of yarn (about 8 inches) and start by placing it between the center prongs of the fork. This is the piece that you will use to tie your pom-pom together later on.
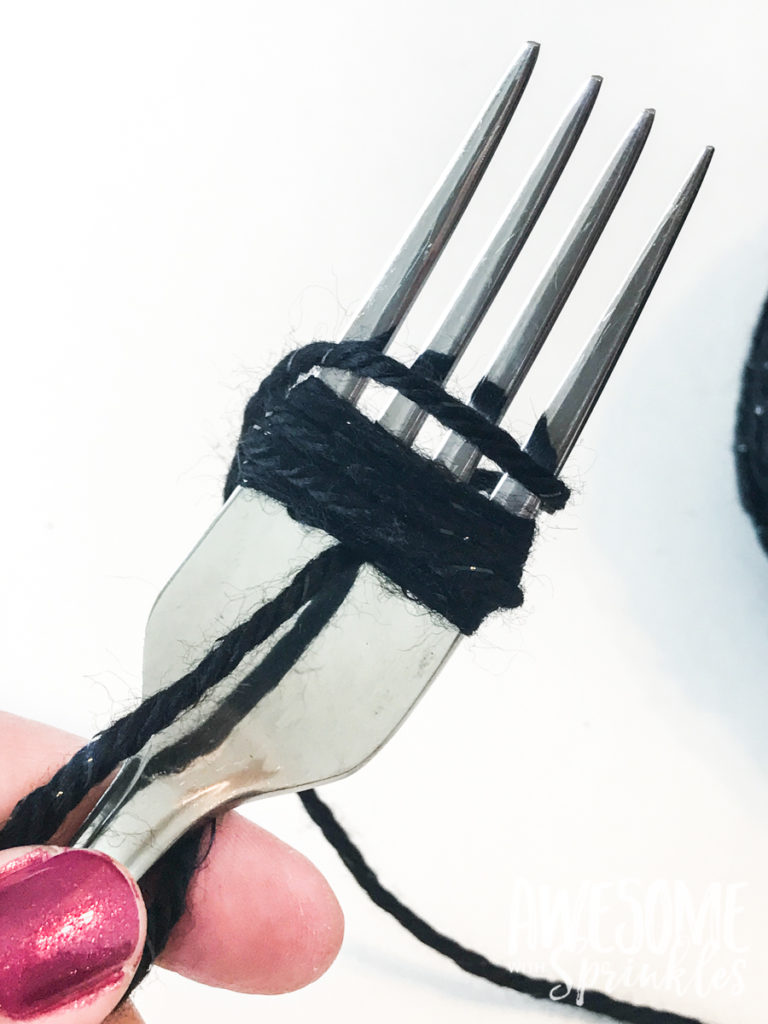
Next, taking the end piece of yarn from your yarn ball, hold it in place against the fork and start to wrap the yarn around the fork, working up and down about halfway the length of the fork.
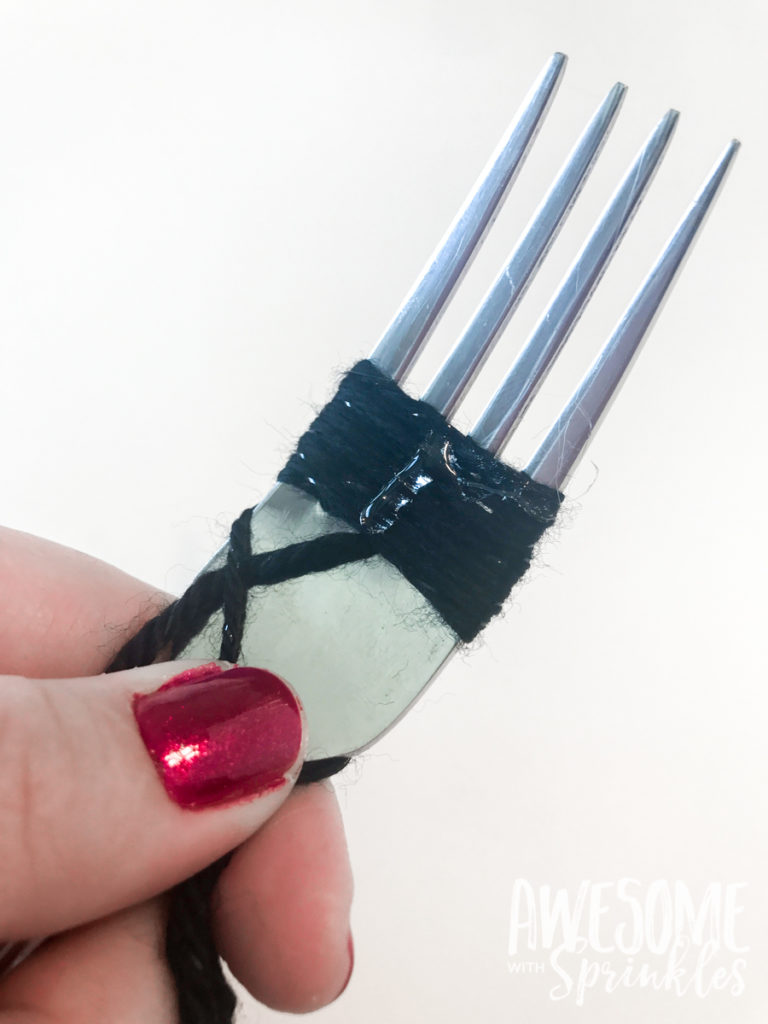
After about every 10 wraps around, I added a strip of hot glue across the threads and continued to wrap the yarn over top of it. Since these pom-poms are so tiny, I found that this helped keep them from pulling apart once they were removed from the fork. Continue wrapping and gluing until you have a pretty good ball starting to form. I found that 60 full wraps around the fork was about perfect for my pom-poms. This can vary depending on the size of your fork. Try it a couple of times and see what works best.
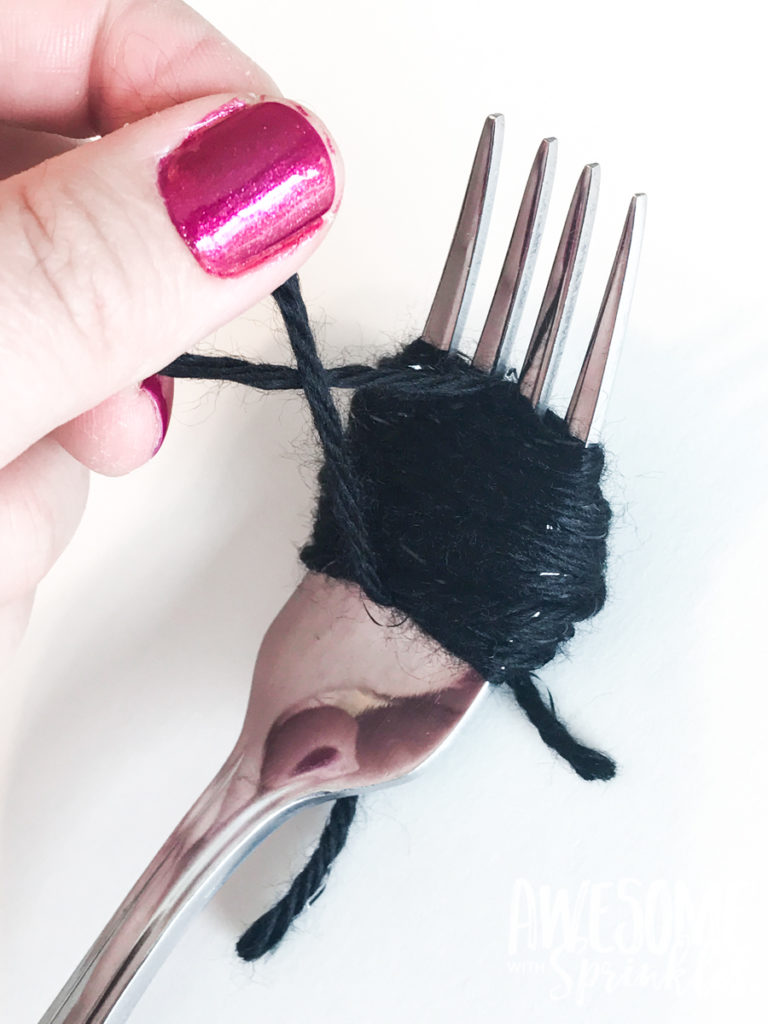
Once you are all done wrapping, take the long piece of yarn that we placed in the middle of the fork prongs and tie it securely around the yarn ball. I used a trusty double-knot.
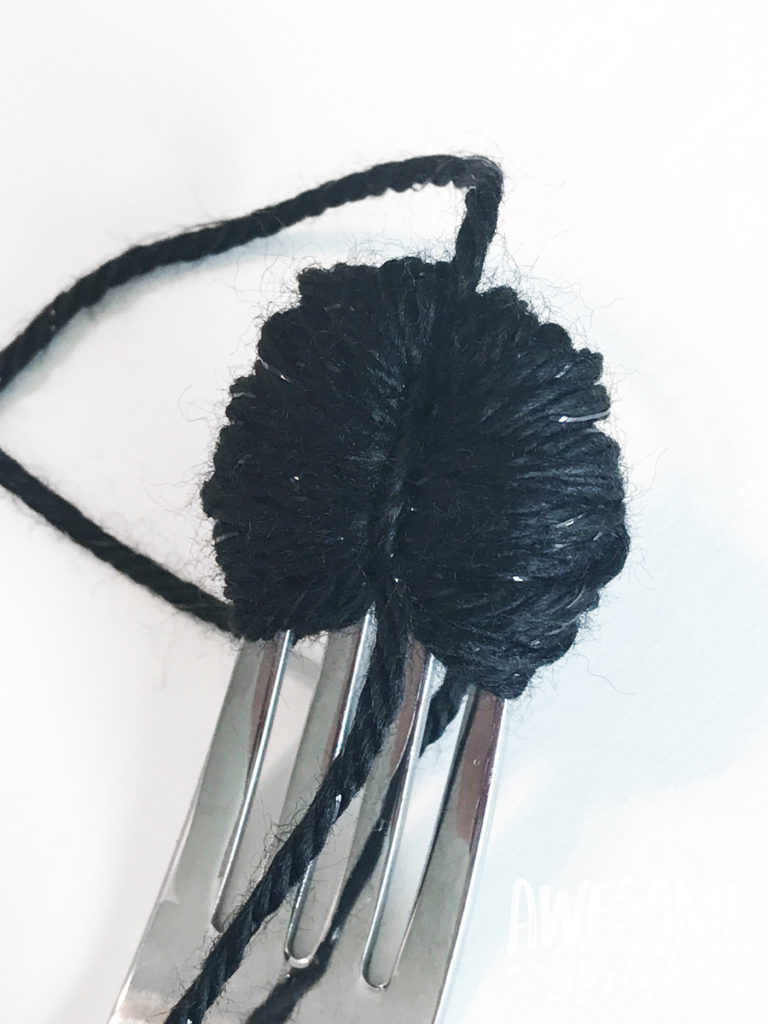
Carefully slide the pom-pom off of the fork.
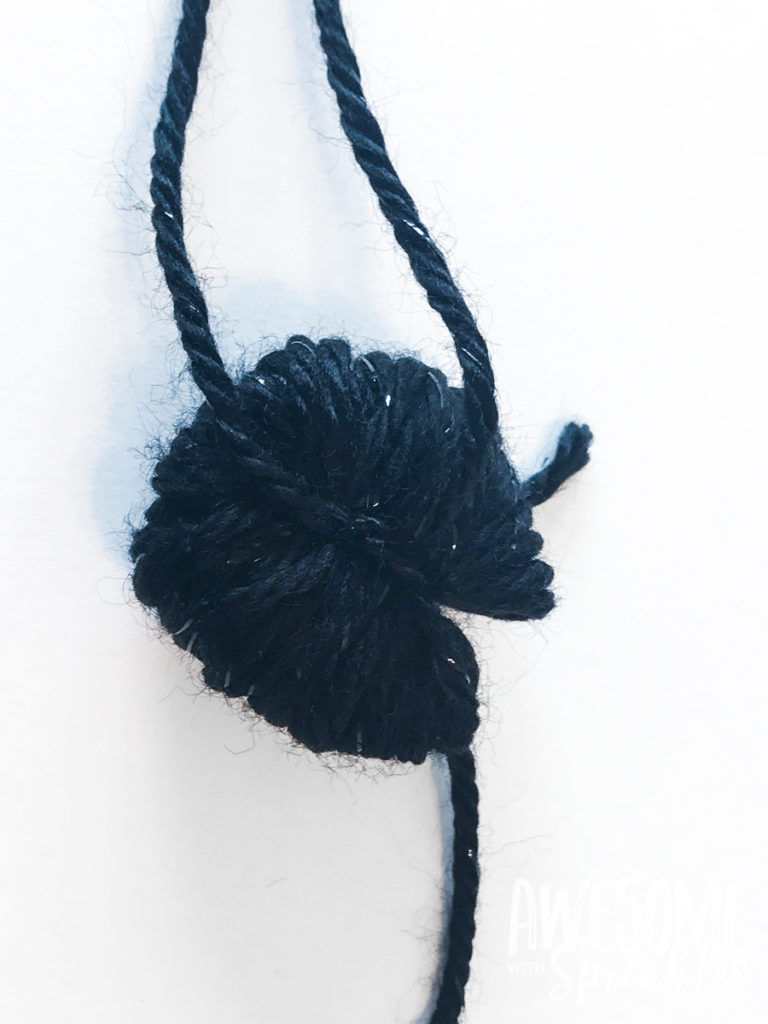
Use the long piece of yarn to tie around the ball again making sure it’s extra tight!
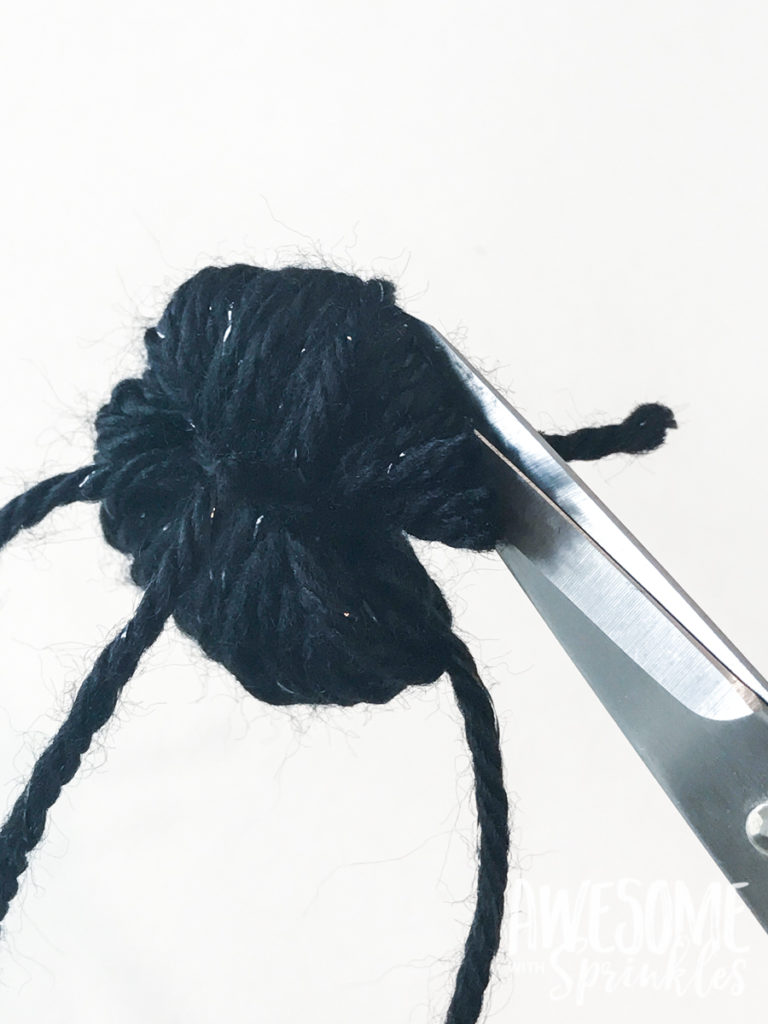
Carefully take your scissors and slide them between the loops created on either side of your knot. Snip the loops apart working all the way around the pom-pom until all the loops have been cut in half.
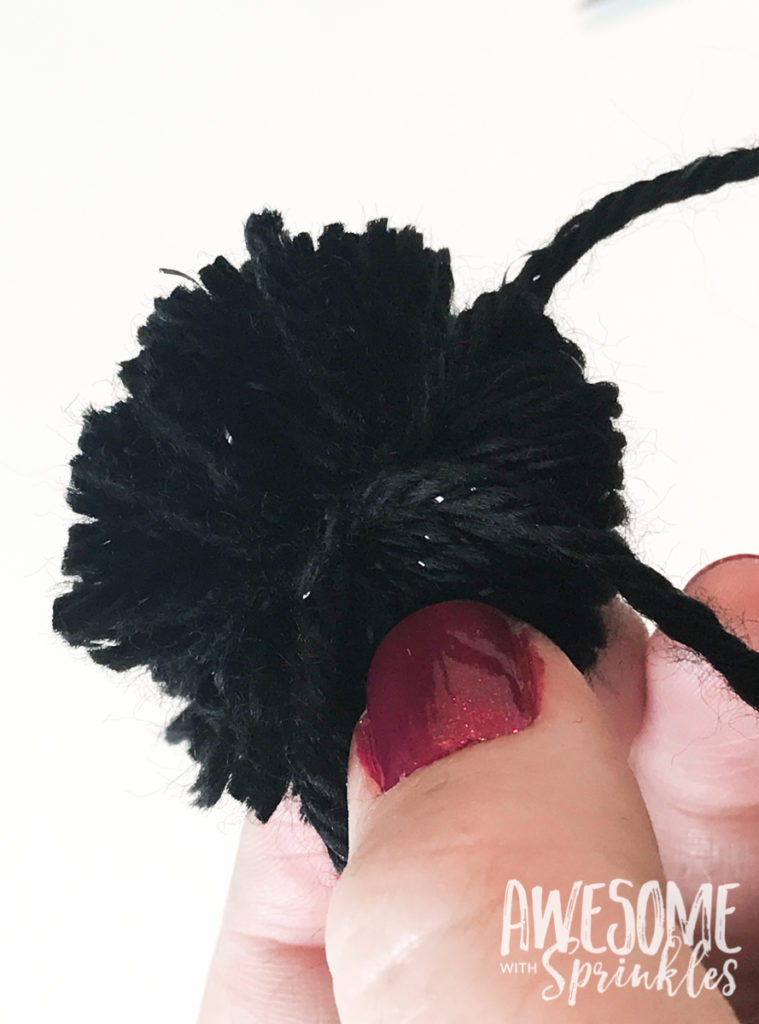
Congrats! You will now have something resembling a pom-pom in need of a haircut. Trim around the outside of the pom-pom snipping off any uneven threads to make a neat little ball.
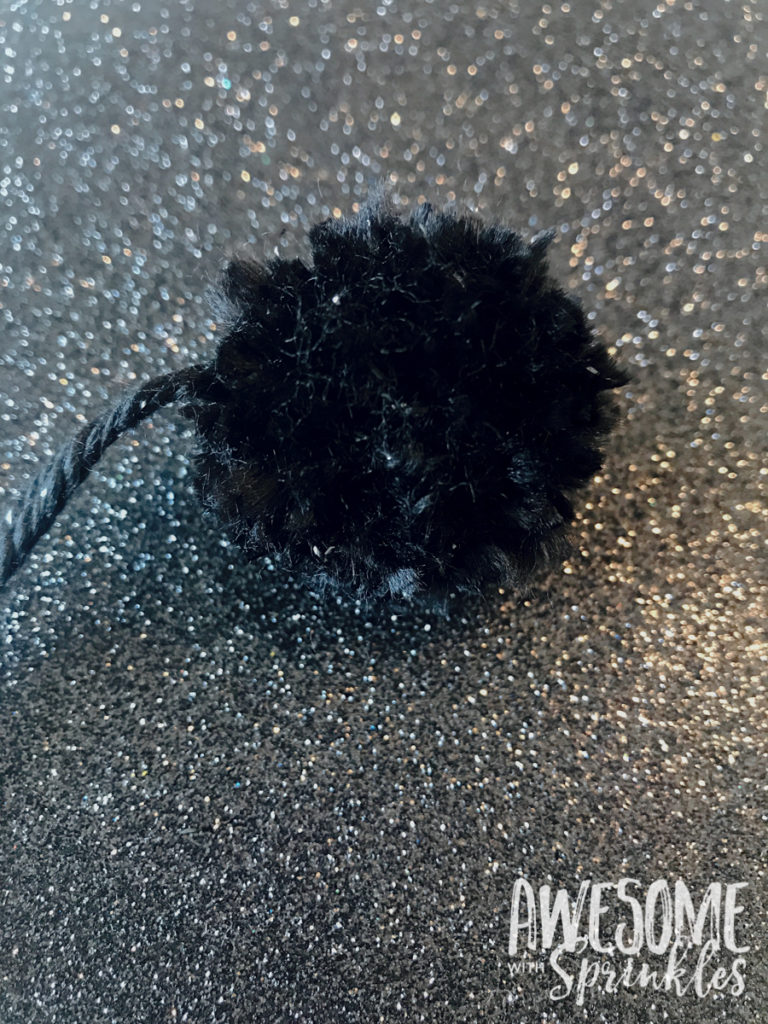
I left mine a little bit untidy because I wanted my bat to look like a little wild critter! On to step two!
2. Give your pom-pom wings!
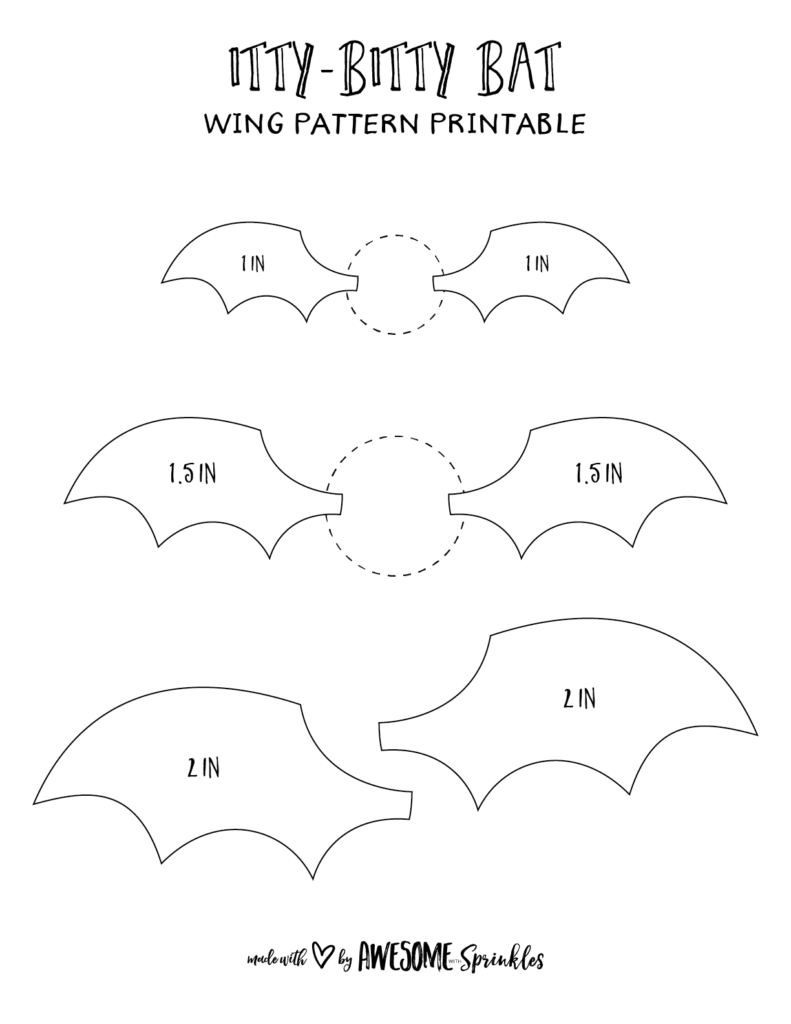 Use our handy wing template to make some wings for your bat!
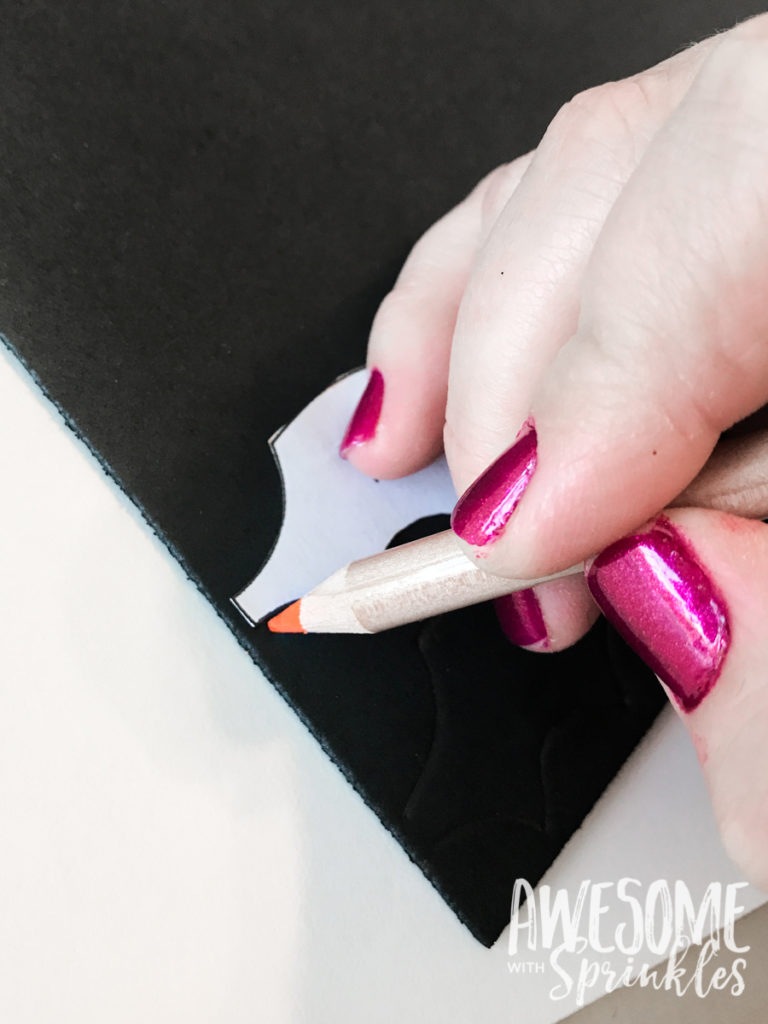 Cut out the wing template size that you want for your wings and trace the template onto your foam sheet. I included a few different sizes in the template depending on how big your fork pom-pom was. 😉
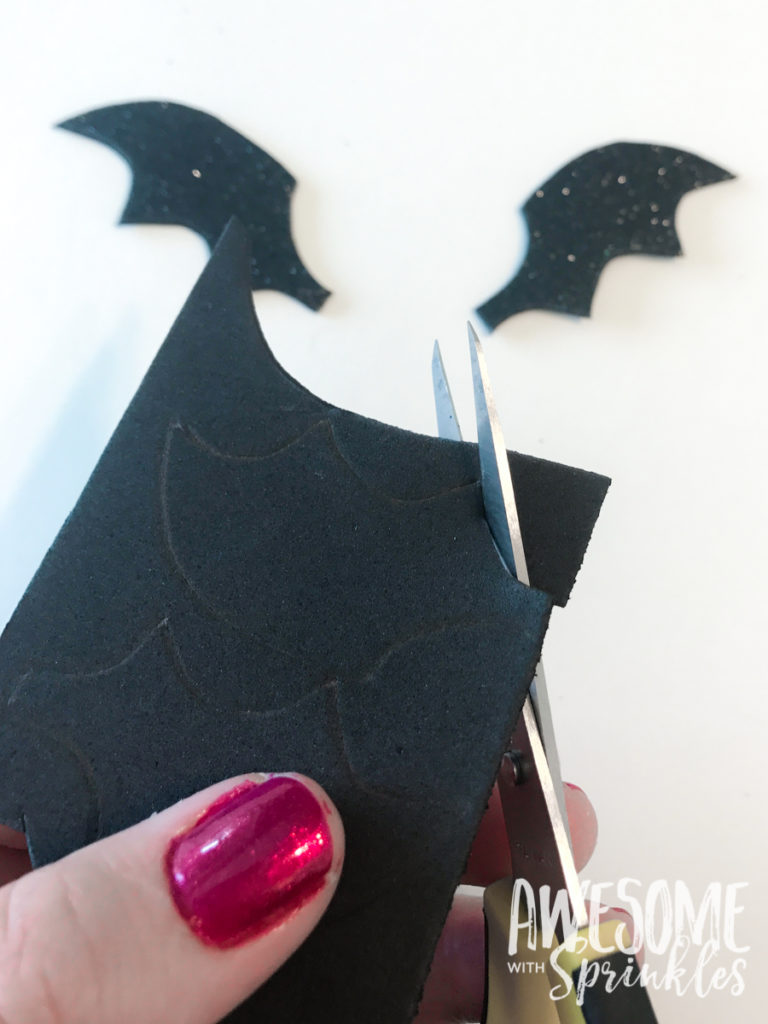
Carefully cut out the wings. I used some super glittery foam sheets for my wings! It worked great and really glammed things up!
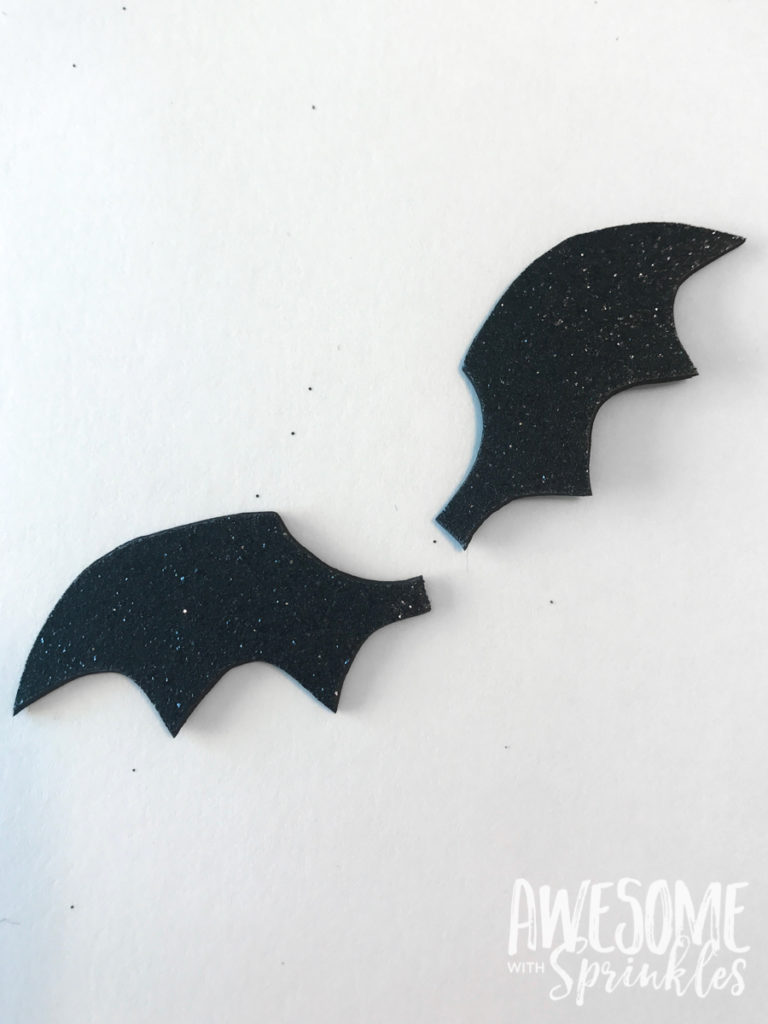
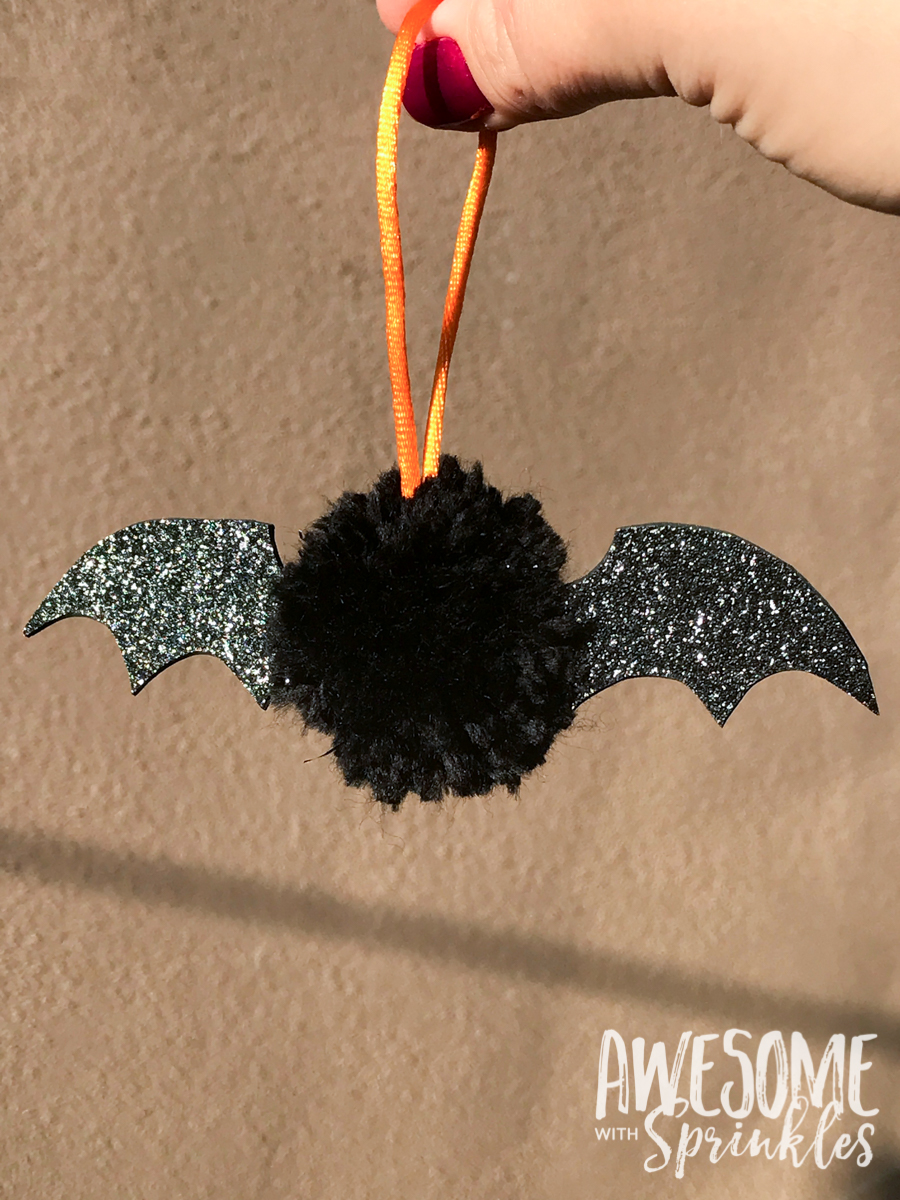
Attach the wings with a little hot glue and your bat is ready for action! *Flap flap*
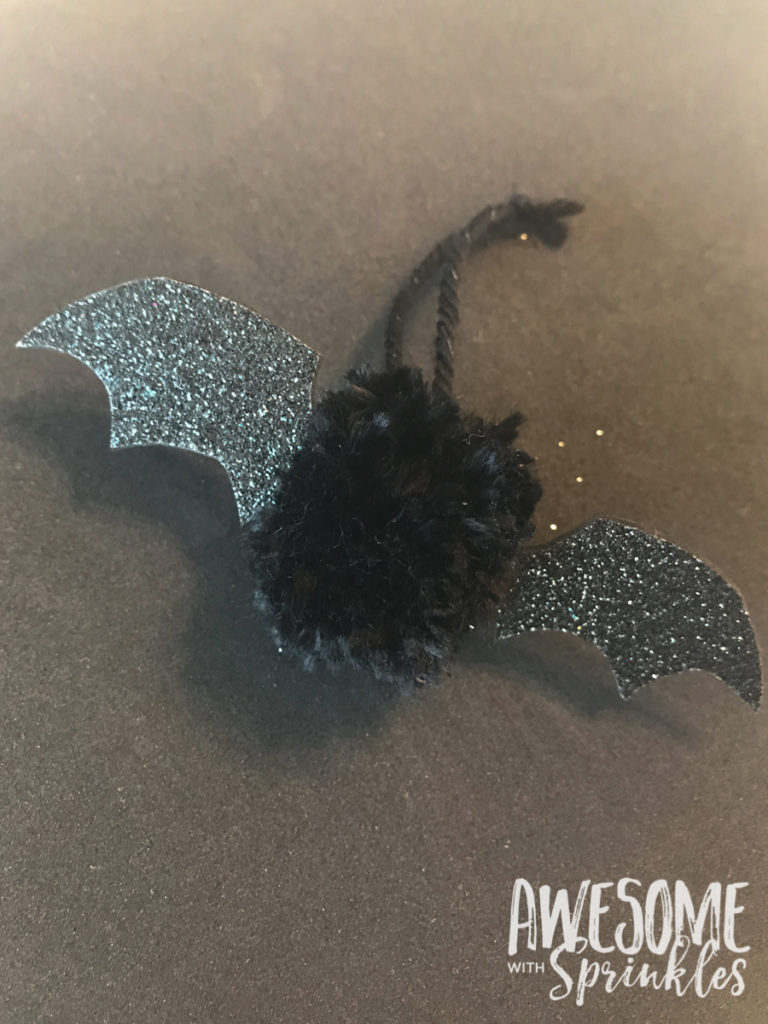
I was a little disappointed in the glitter yarn, which was really pretty in the roll, but wasn’t very glittery after it turned into a pom-pom. But I was WAY happy with the glitter foam wings which look AWESOME (but are were incredibly tricky to photograph).
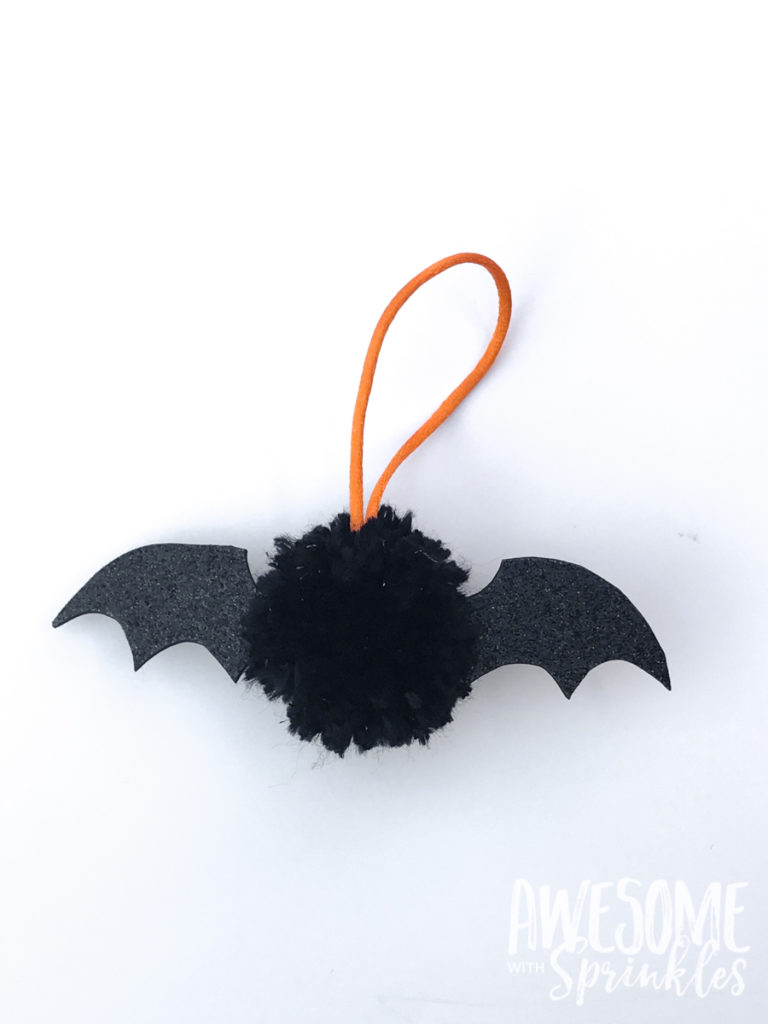
3. The final touch
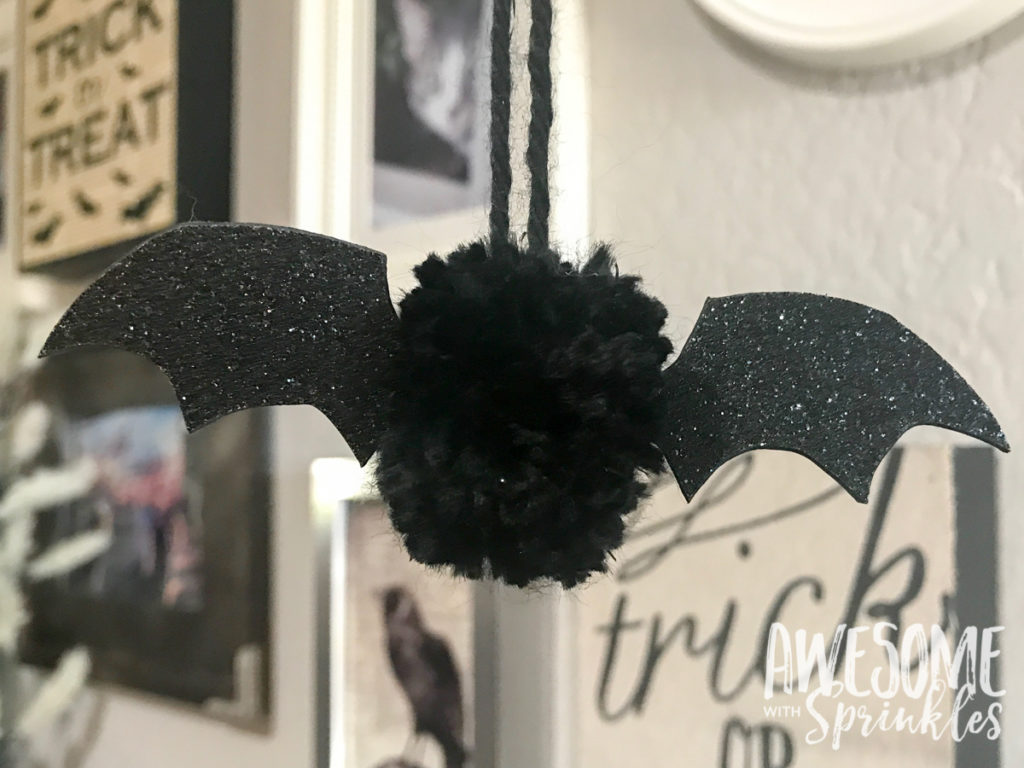
These itty-bitty bats are just too cute with their fluffy little bodies and glitter wings! <3 You can even add googly-eyes (like we did to our spiders) to give them a little more personality!
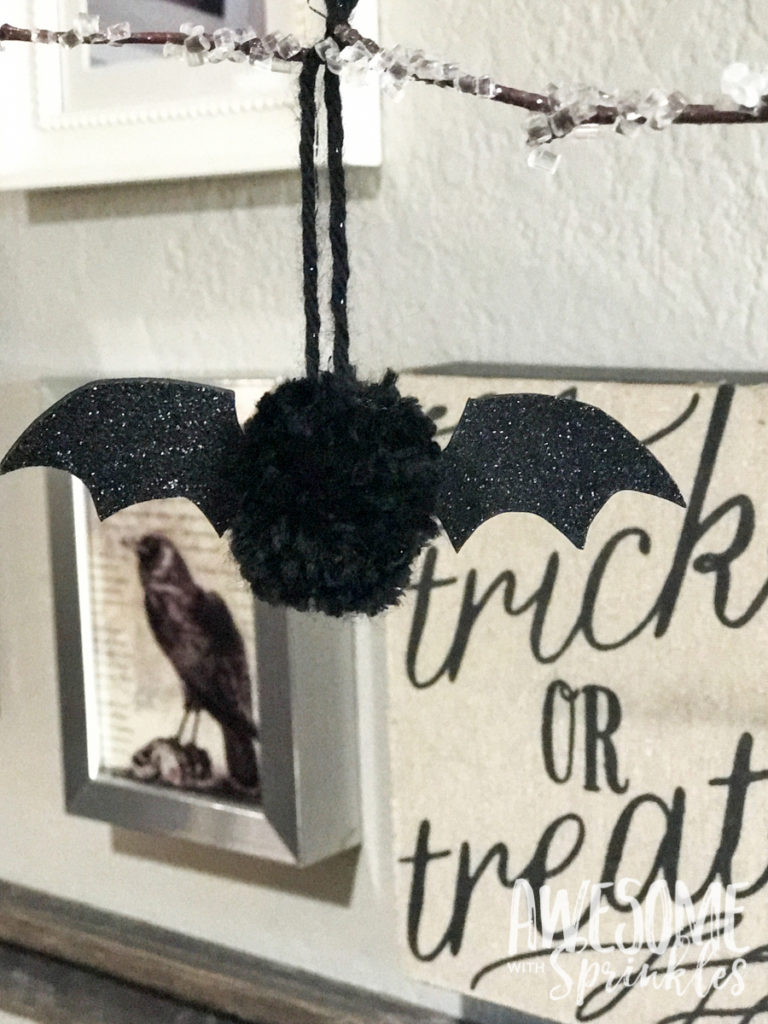
Use the excess length of yarn (that you used to tie the pom-pom together) to make a hanging loop for your wee little bat.
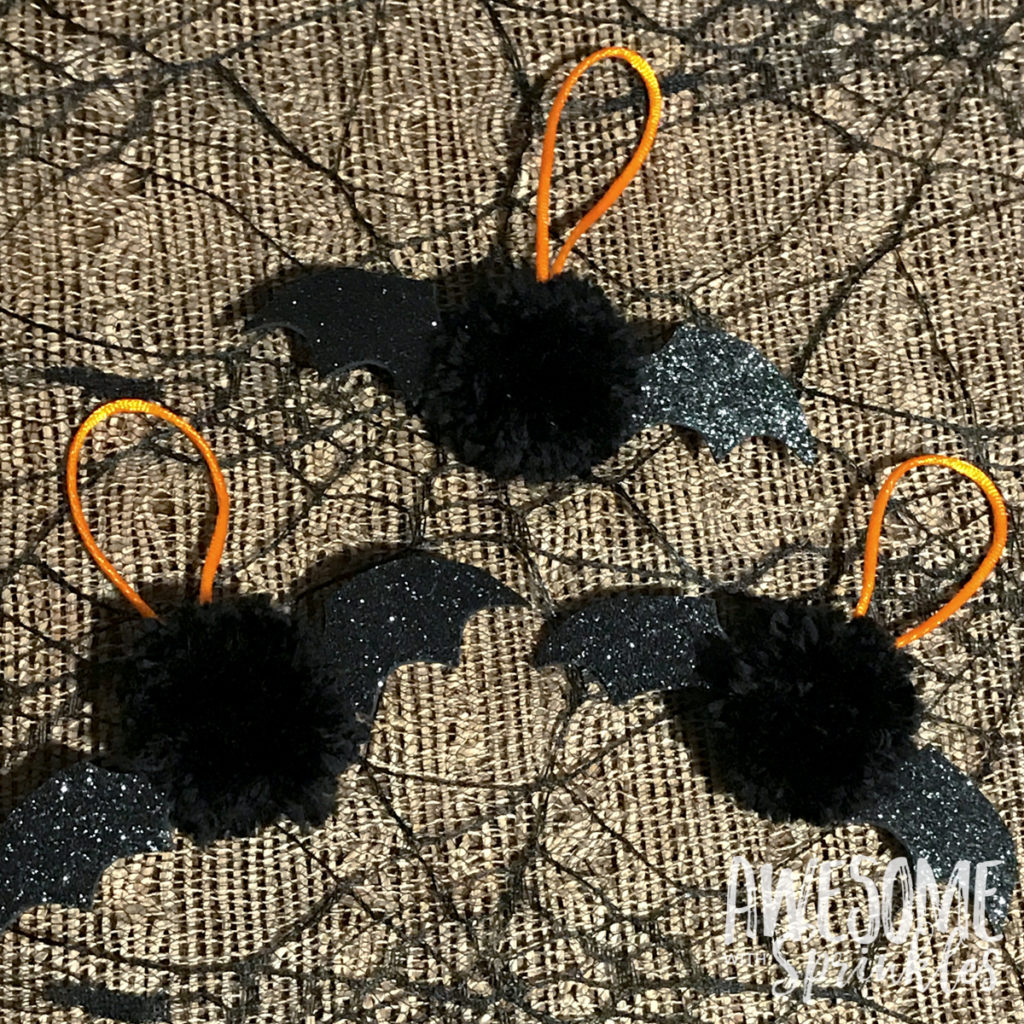
Or you can attach a more decorative cord for hanging from a spooky tree or to adorn small presents or treat bags! You could even string a few together for a batty garland.
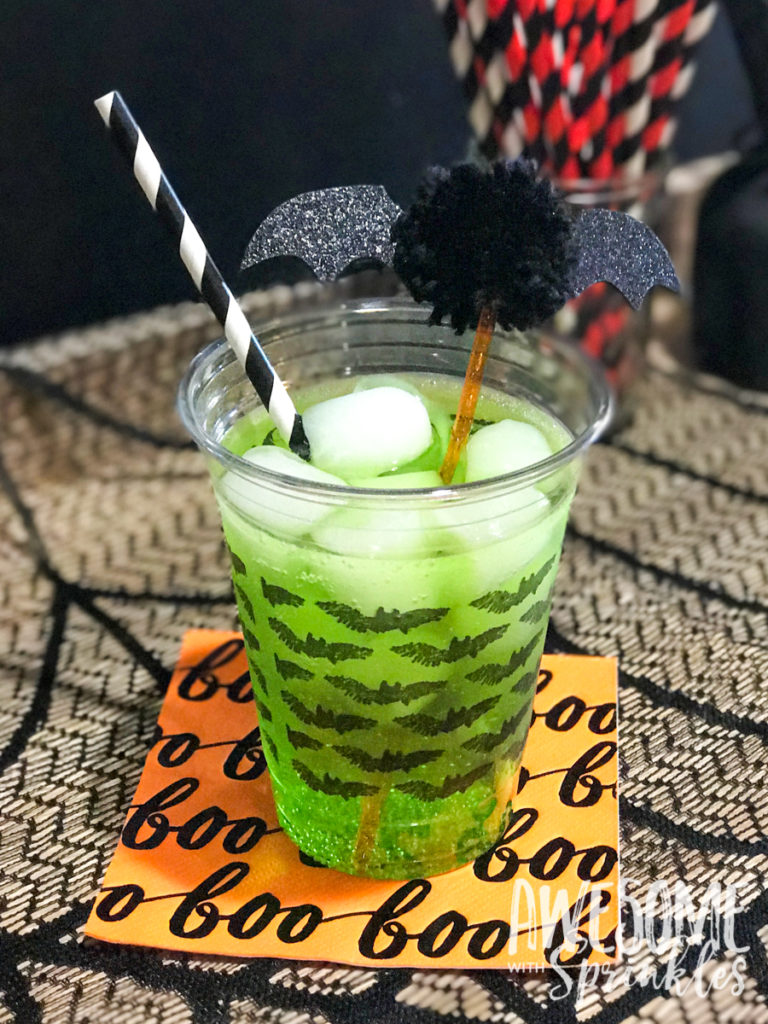
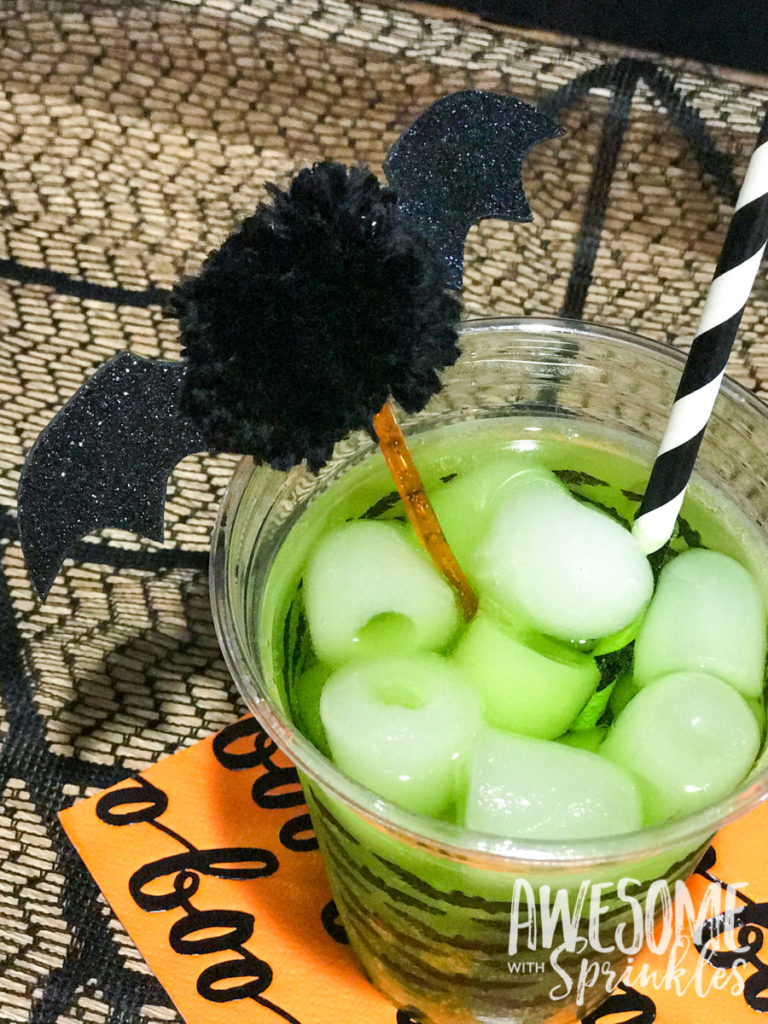
My favorite use for these little bats is glued onto the top of cocktail stirrers to add some sparkle to your spirits.
Now you know how to make these easy itty-bitty pom-poms you can experiment with different colored yarn and designs. Maybe purple bats or little green spiders. Make mini orange pumpkins for a garland or fluffy snowball ornaments! The pom-ibilities are endless (oh come on, you know you weren’t getting out of this post without at least one bad pun).
Happy crafting and HAPPY HALLOWEEN! ?
Pin for Later:







Leave a Reply